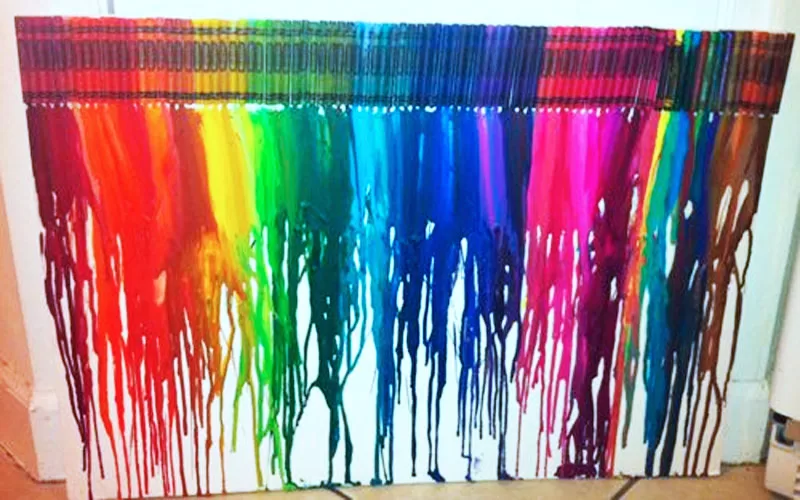
Melted Crayon Art
I’ve seen this project many times and as an avid rainbow lover, I was drawn to it time over time. My daughter and I are very artistic people from painting to drawing. I love that my daughter took after me when it comes to artistic abilities. My daughter agreed this Melted Crayon Art looked like it would be fun to create. If you are going to try this project at home I encourage you to read my tips below, it will help you in your own creation of this Melted Crayon Art project.
The cost for this project ranges from $10-$20. The cost depends on many factors, whether you use repurposed crayons or purchase a new box of crayons, the size of your project, and whether you use a thick poster board or a canvas. The choice is all yours. Even though we used rainbow colors you can make this project your own by the color theme you choose.
Creating Your Art Project
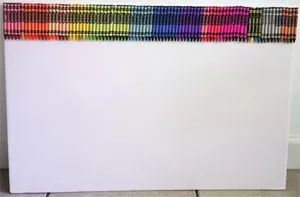
Gather your supplies listed below and choose the color scheme you would like for your Melted Crayon Art project. For my daughter and I, we choose a rainbow theme. Put your crayons in order paying attention to the wrapper art as an added visual for your project, and glue them to the poster board or canvas.
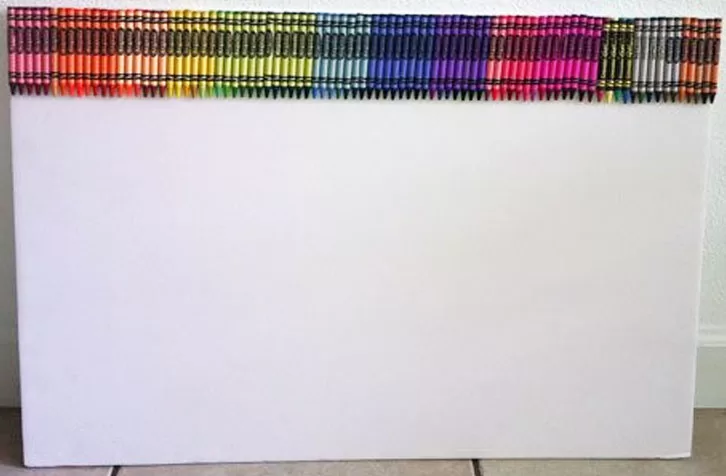
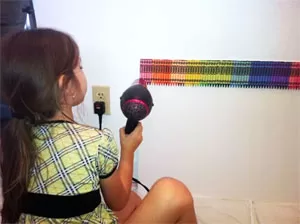
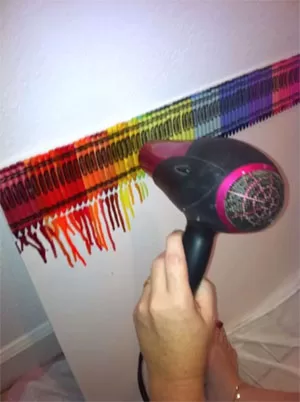
Begin blow-drying the crayons on high heat, see the tips below for blow-dryer settings. Aim the blow dryer at the middle of the crayon.
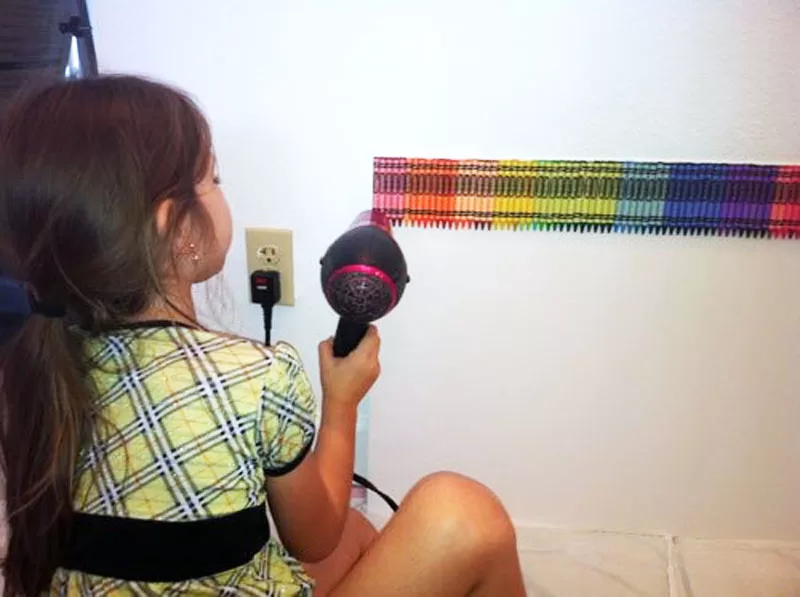
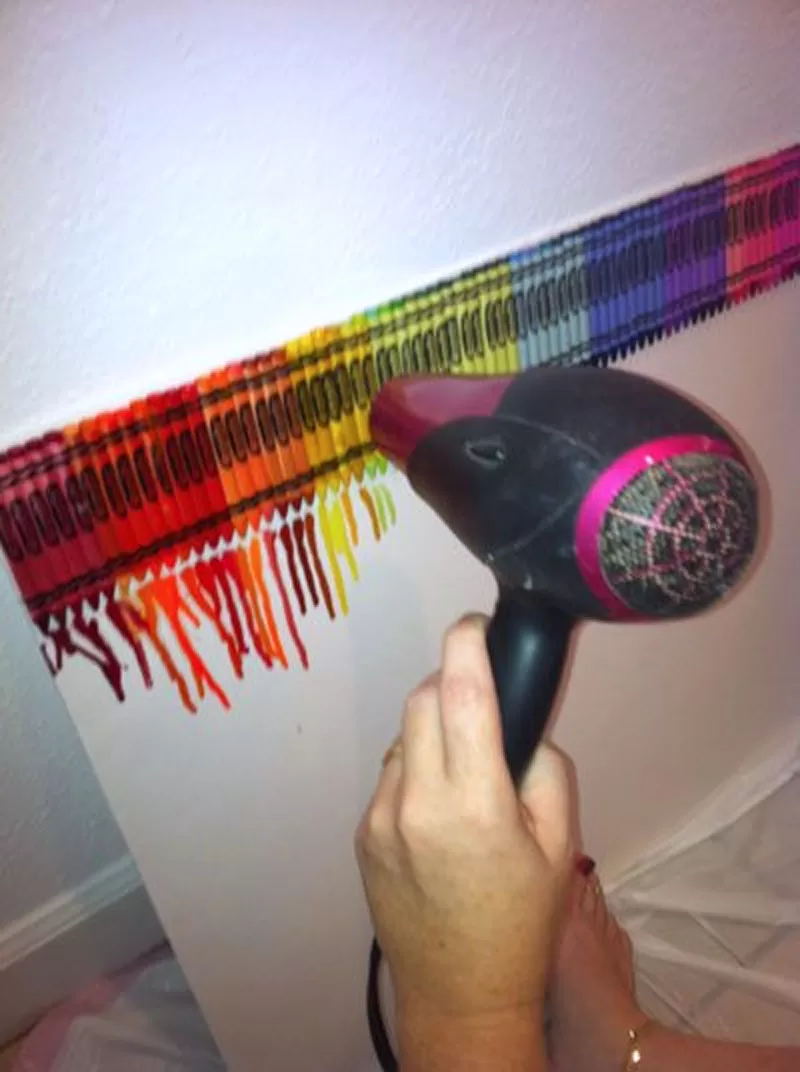
In a matter of minutes, the melted crayon will begin to run down the board. This is where your creativity comes in. You can stagger the lengths having some melt more than others. Decide if you want the wax to run to the bottom or stop in the middle. Use the blow-dryer to direct the melting crayons if you want to add some direction to your Melted Crayon Art.
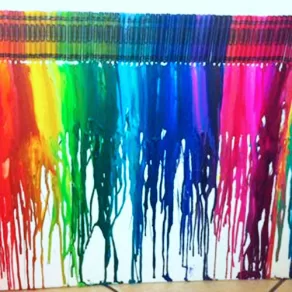
Melted Crayon Art
Equipment
- Glue gun
- Hair dryer
Materials
- Thick poster board or canvas
- Box of crayons size depends on size of board
- Garbage bag or drop cloth
Instructions
- Plugin and let the glue gun heat up.
- Put the crayons in the order you would like to place them on your board.
- Begin to glue each crayon to the board. Decide how you want them to look, we decided to have the “Crayola” symbol facing outwards. Use a good amount of glue to get them fastened to the board. However, be careful when placing the crayons on the board they will stick easily and dry quickly.

- Lay down a drop cloth or garbage bag under your poster board so the crayon will not drip on the floor. You will also want to be careful where you are doing this if you put it against a wall know that you may get melted crayon on your wall.
- Once you are set up you will put your blow dryer on high heat. It is better to start off at medium power versus high power (see my tips below). Begin heating the crayons one color at a time.

- As the crayons begin to melt (in a matter of minutes) the wax will begin to run down the board, it is important that the heat be directed at the middle of the crayon and not the tips (again see tips below)

- Just continue to melt the crayons until you are satisfied with the results. For us our goal was to melt each crayon so that the tips were no longer showing.
Notes
Melted Crayon Art Tips
There were a few things I learned as we did this project and wanted to pass on should you chose to do this project yourself.- Use a good amount of glue, we had a few crayons fall off after we finished the project
- Keep a small tilt in your board, if it is straight the wax will fall directly down and miss the top of the board
- It is better too keep the dryer on medium power until you get a hang of things. At higher power the wax tends to fly across the board at times instead of directly down.
- Make sure you are doing this in a place that is easy to clean up. We ended up with wax on the wall and floor
- Once the wax starts melting if you would like it to run down to the end of the board you may need to help it with the hair dryer by blowing the wax down the board.
- If you end up with big clumps of wax because it dried before it ran down the board just heat it up again and watch it drizzle down.
- The hardest part is the ends of the board due to the wax falling off the sides so take special care in these areas.
The Melted Crayon Art project took about an hour to an hour and a half, a little longer than I had anticipated. However, it was fun and the results were beautiful. Of course, I’m a sucker for rainbows. I just think it is an inexpensive project to do with your child.