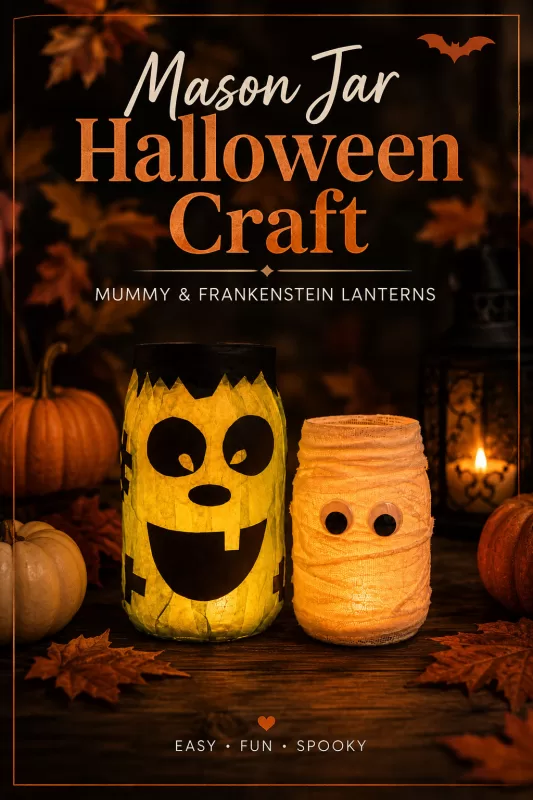
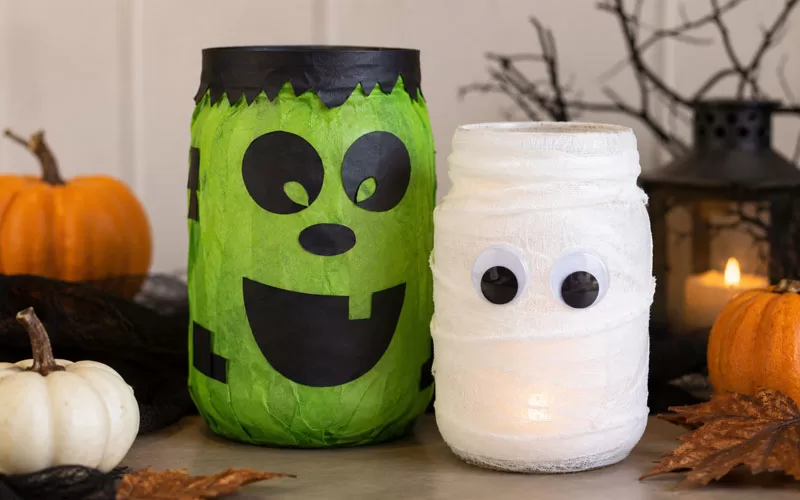
I love Halloween crafts that are simple, inexpensive, and easy to bring back out year after year. These mummy and Frankenstein mason jar lanterns check every box. They use basic craft supplies, come together without a complicated tutorial, and look especially fun once battery-operated tea lights begin glowing through the gauze and tissue paper.
Halloween is one of those holidays that makes it easy to get creative without worrying about perfection. Crooked gauze, uneven hair, and slightly mismatched facial features only give these jars more personality.
An Easy Halloween Craft With Plenty of Character
The mummy jar is wrapped in loose layers of gauze and finished with googly eyes, while the Frankenstein jar uses green tissue paper, black construction paper, and simple cutout details to create his hair, face, and bolts. Even though the two designs use different materials, both are easy to customize with whatever expression or style you like.
The jars do not need to look perfectly polished to turn out well. Uneven gauze can make the mummy look more convincing, and a crooked mouth or slightly wild hair can give Frankenstein more personality. Those little differences are what keep the finished decorations from feeling too uniform or store-bought.
Once the lights are added, the jars create a soft Halloween glow that works well on a mantel, entry table, bookshelf, or party display. They can also be mixed with pumpkins, spiderwebs, and other simple Halloween decorations to build a festive setup without needing a lot of extra supplies.
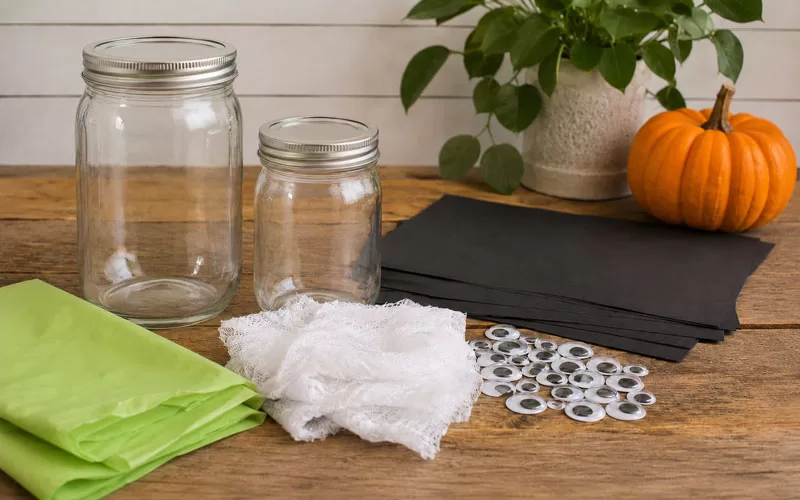
Supplies You Will Need
Most of the supplies are inexpensive and easy to find at a craft store.
For the Mummy Mason Jar
- Clean mason jar
- Gauze
- Googly eyes
- Mod Podge
- Foam brush
- Battery-operated tea light
For the Frankenstein Mason Jar
- Clean mason jar
- Green tissue paper
- Black construction paper
- Mod Podge
- Foam brush
- Battery-operated tea light
Before beginning, wash the jars and remove any labels or adhesive residue. The jars should be completely clean and dry so the Mod Podge adheres properly. Plaid’s official Mod Podge guide also recommends preparing the surface before starting a decoupage project.
Tips Before You Start
Tear or cut the mummy gauze into uneven strips. Different widths and slightly frayed edges create a more natural wrapped look.
Tissue paper can wrinkle when it becomes wet with Mod Podge, so work gently. Use the foam brush to smooth it carefully, but avoid brushing over the same area too many times.
For Frankenstein, sketch the hair, eyebrows, mouth, nose, and bolts onto the black construction paper before cutting. His expression can be silly, spooky, surprised, or grumpy.
How to Make Mummy and Frankenstein Mason Jars
The mummy jar is made by brushing Mod Podge onto the glass, wrapping the jar with gauze, and adding googly eyes. The Frankenstein jar is covered with green tissue paper and finished with black paper details.
The complete supply list and step-by-step instructions are included in the project card below.
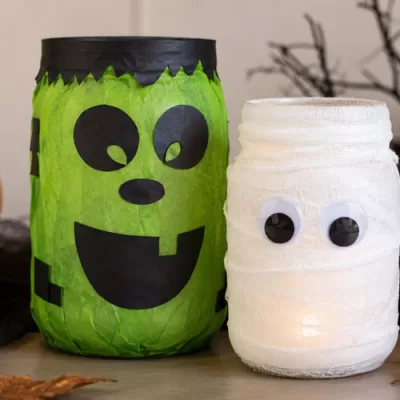
Mason Jar Halloween Craft: Mummy & Frankenstein
Materials
Mummy Mason Jar
- Gauze
- Googly eyes
- Mason jar
- Mod Podge
- Foam brush or likeness
- Tea light
Frankenstein Mason Jar
- Green tissue paper
- Black construction paper
- Mason jar
- Mod Podge
- Foam brush or likeness
- Tea light
Instructions
Mummy Mason Jar Instructions
- Cut gauze in uneven strips, the key is for them not to be uniform.
- Frey ends as desired for a messy look.
- Cover the outside of your mason jar with Mod Podge.
- Wrap the gauze, unevenly crisscrossing like you would see on a real mummy.
- Glue on googly eyes with Mod Podge.
- Insert tea light.
Frankenstein Mason Jar Instructions
- Cut the green tissue paper into 1-2 inch strips.
- Cover the mason jar with Mod Podge.
- Place green tissue paper on the outside of the jar in vertical strips.
- Cut out eyes, nose, mouth, bolts, hair, and car from black construction paper.
- Glue with Mod Podge to the covered mason jar.
- Insert tea light.
Let the Mason Jars Dry Completely
Allow both jars to dry fully before placing lights inside. Drying time will depend on how much Mod Podge was used, but leaving them overnight is usually the safest option.
Once dry, check for loose gauze or lifting paper edges. Add a small amount of Mod Podge where needed and let the area dry again.
Use battery-operated tea lights only. Because these jars contain paper, gauze, and adhesive, real candles should never be placed inside them.
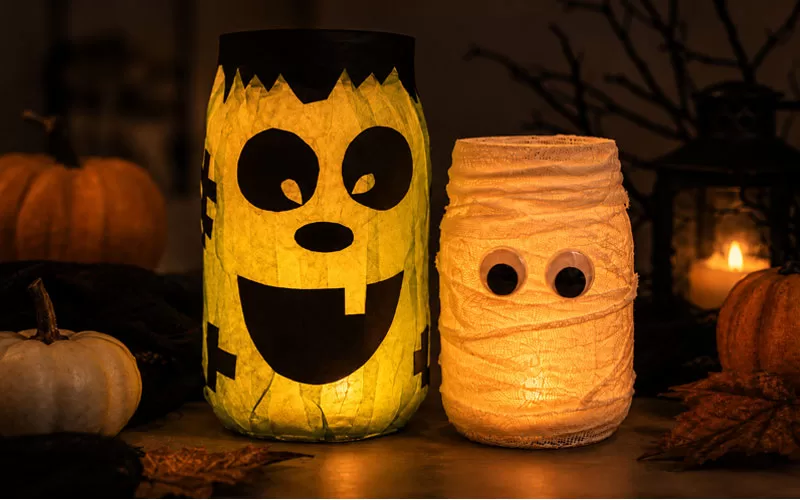
Displaying Your Halloween Lanterns
These mason jar lanterns are small enough to fit almost anywhere.
Try placing them on:
- A fireplace mantel
- An entryway table
- A kitchen counter
- A bookshelf
- A Halloween party table
- A front porch in a protected area
Once the lights are added, the jars create a soft Halloween glow that works well on a mantel, entry table, bookshelf, or party display. They also look fun grouped with pumpkins, spiderwebs, potion bottles, or other Halloween luminaries for a display that feels festive without looking overly styled.
Can You Reuse These Halloween Mason Jars?
Yes. Once everything is completely dry, these jars can be stored and reused each Halloween. Wrap them loosely in tissue paper or bubble wrap before placing them in a storage bin. Avoid stacking heavy decorations on top because the construction paper and googly eyes may bend or loosen. If a piece comes loose the following year, it can usually be reattached with a little Mod Podge or craft glue.
A Simple Halloween Craft Worth Saving
This mason jar Halloween craft is a fun reminder that seasonal decorating does not need to be expensive or complicated. A couple of jars, a few basic supplies, and a little creativity are enough to make decorations that feel festive, personal, and worth saving.
The mummy and Frankenstein designs are easy to customize, so no two jars have to look exactly alike. Once the lights are turned on, they add just the right amount of playful Halloween glow.
Love this Halloween craft? Save the pin below so you can easily find the mummy and Frankenstein mason jar lantern tutorial when you’re ready to create your own.