My daughter was very excited when our Cricut Explore (purchase here) arrived and I was a little overwhelmed. I agreed to review the Cricut Explore Cutting Machine because I’ve seen it used on many blogs but I honestly wasn’t quite sure what I was going to do with it. I wanted to give it a proper review but was at a loss for what exactly I would use it to create. It turned out there was no need for me to worry. After three AMAZING and fun projects, I am totally in love with the Cricut.
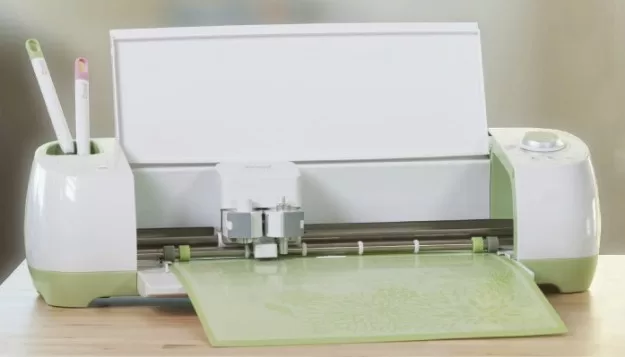
We took it out of the bag and at first, I wasn’t sure what to do, it didn’t really come with many instructions. Turns out you simply need to open it and under the hood are three steps to getting started. All you have to do is hook up your Cricut Explorer to your computer and the setup process will begin. You will also need the Cricut software which is easy to download. I ran into a small glitch and had to call customer service only to find out my computer was blocking the software. Once that was taken care of we were ready to go. I decided that even though the Cricut can be used to make your own designs for ease I decided to look through the Make It Now designs that came with instructions.
Cricut Make It Now Crafts
Honey and I looked through the many craft ideas and decided that since it was Halloween we would do a few crafts to honor our favorite holiday. We LOVED these cute potion bottles. When we received our Cricut we also received a starter kit that included the basic tools, card stock, and vinyl. For this project, we simply needed the mat (which is necessary for all projects) and vinyl. We selected the project and the software took us through each easy step.
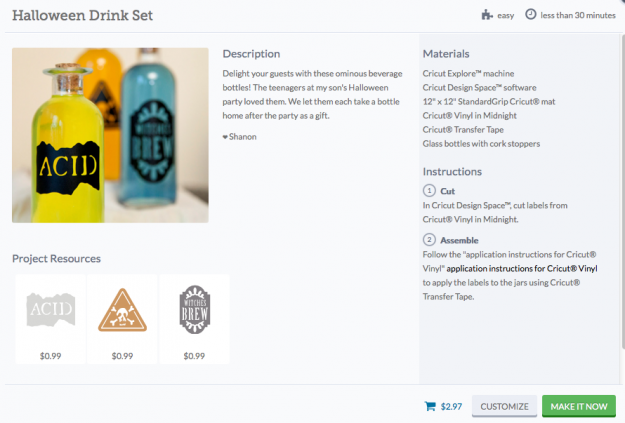
You simply put your vinyl on the mat, load it into the machine, and hit the go button. The machine cuts your project and then you are ready to go. For this project, the machine cut three labels for us to add to our potion bottles. We picked out our potion bottles at Michael’s and instantly we had a cute and fun Halloween decoration.
Cricut Halloween Potion Bottle Craft

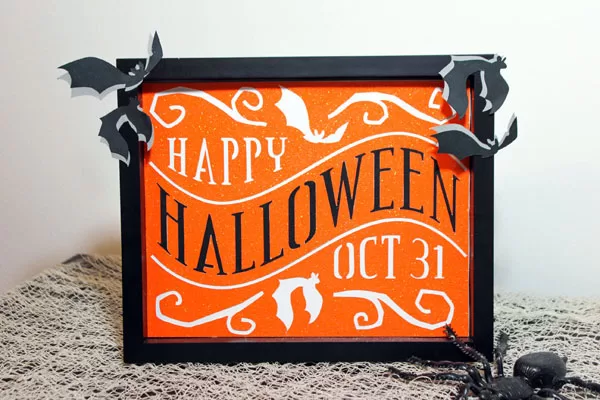
I think they turned out awesome! My daughter loved to watch the machine cut out the decals, and she helped by peeling away the vinyl and coloring the water. This was an easy and fun project to do together. Since our supplies were limited (meaning we had no wood or clothing for more complicated projects) we also decided to make a fun Halloween sign. We took some creative liberties with this one since we didn’t have a white frame. It turned out perfect!
Cricut Explorer Halloween Sign Craft
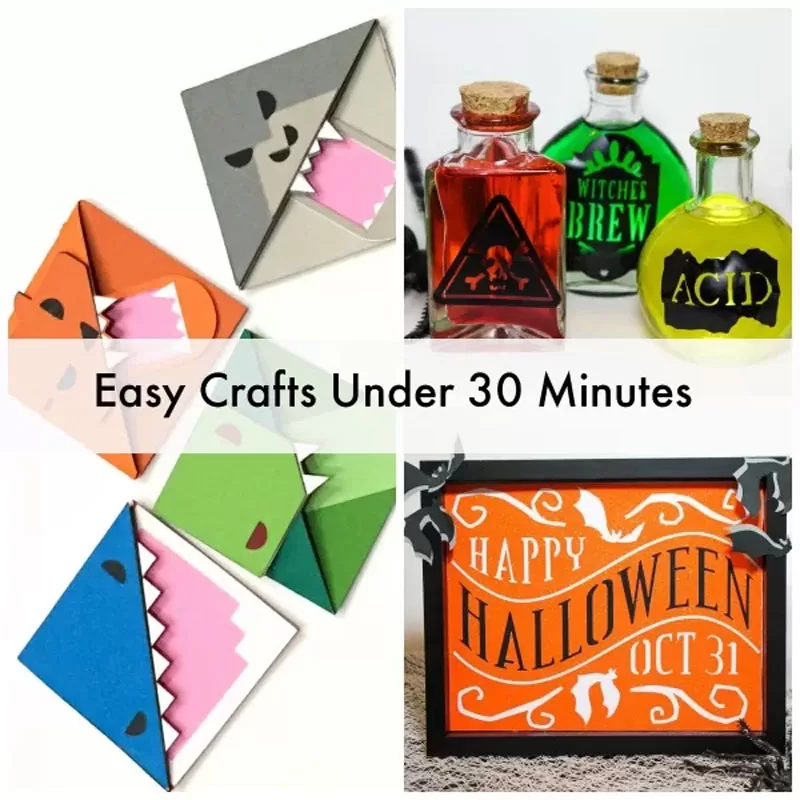
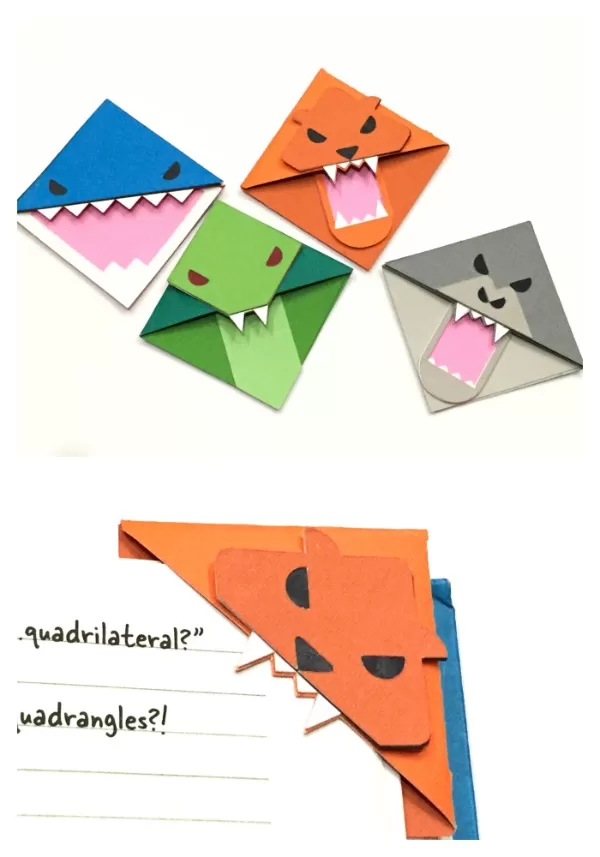
We had so much fun we didn’t stop with just Halloween. When we were browsing through all the crafts my daughter saw the cut bookmarks and really wanted to make them. At the time we didn’t have the colors but when we ran to get our potion bottles we picked up a big pack of new card stock with a lot more color options. Honey didn’t get to help me with this craft because she decided to go to church with her grandmother so I surprised her with them when she got home. I think they turned out great and now she had four new bookmarks
Cricut Explorer Bookmark Corners Craft
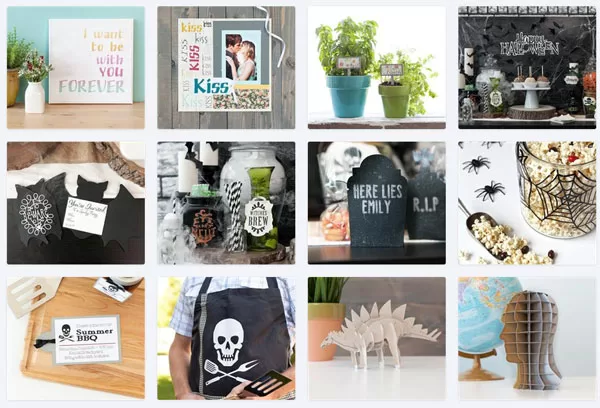
The Cricut Explore is an amazing addition to our arsenal of craft items. It is so easy to use because it does all the work. We chose easy crafts that can be done in a matter of minutes with cardstock or vinyl but you can do so much more. Using the Cricut Explorer for these easy crafts, we were able to finish projects in a matter of minutes with cardstock or vinyl but you can do so much more. The Cricut Design Space had more than 50,000 printable images. When we were at the craft store we saw tons of cartridges you can purchase for even more designing capabilities.
Our next project will be making party invitations for Honey’s birthday party in November. She is currently wanting a pool party but this weekend we noticed with the cooler temperatures at night the pool is a little colder. No matter what she has I know the Cricut ExploreExplorer can help me make some great invitations, decorations, and party favors that are sure to amaze!
I received a Cricut Explore to facilitate this post.
Leave a Reply