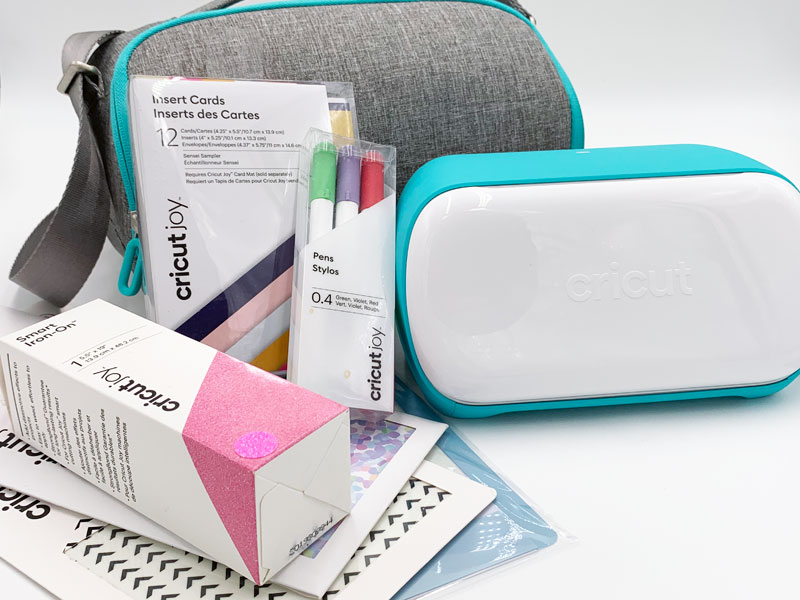
I do not consider myself an expert at crafting however crafts do have their place in my heart. I love to create whether it is drawing, painting, or making a Halloween costume. I own the new Cricut Explore Air™ 2 machine and a Cricut EasyPress 2. However, a new Cricut product has become my favorite! The Cricut Joy!
Cricut Joy
Cricut Joy is a great example of great things that come in small packages. What an innovative idea to take the power of a Cricut Explorer and pack it all into a small travel-size Cricut machine! How many times have you wanted to make a quick label, card, or add some personalization to an item only to wonder if it is worth getting out the Cricut? Without a dedicated craft room like some each time I use my Cricut it is packed away until the next use. Now with Cricut Joy, I’m able to grab and go. It is fun, functional, and easy to use, and projects ready in just 15 minutes! Cricut Joy is Cricut’s smallest smart cutting machine ever!
Little projects are easier than ever with Cricut Joy and can be done anywhere, desktop, countertop, table, and more. With Bluetooth connectivity, it is easy to hook up your phone, computer, or tablet to create your design. I’m excited to share with you three easy projects I created using my Cricut Joy.
Dinosaur Tumbler
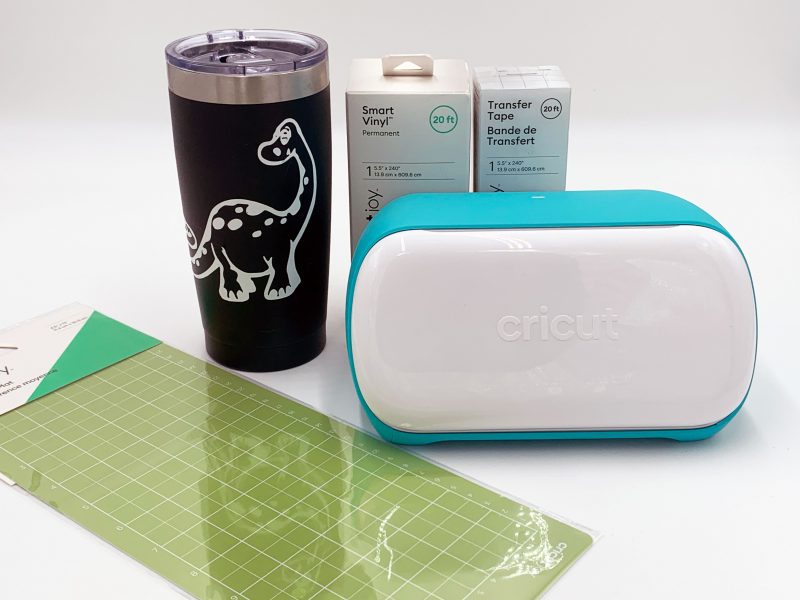
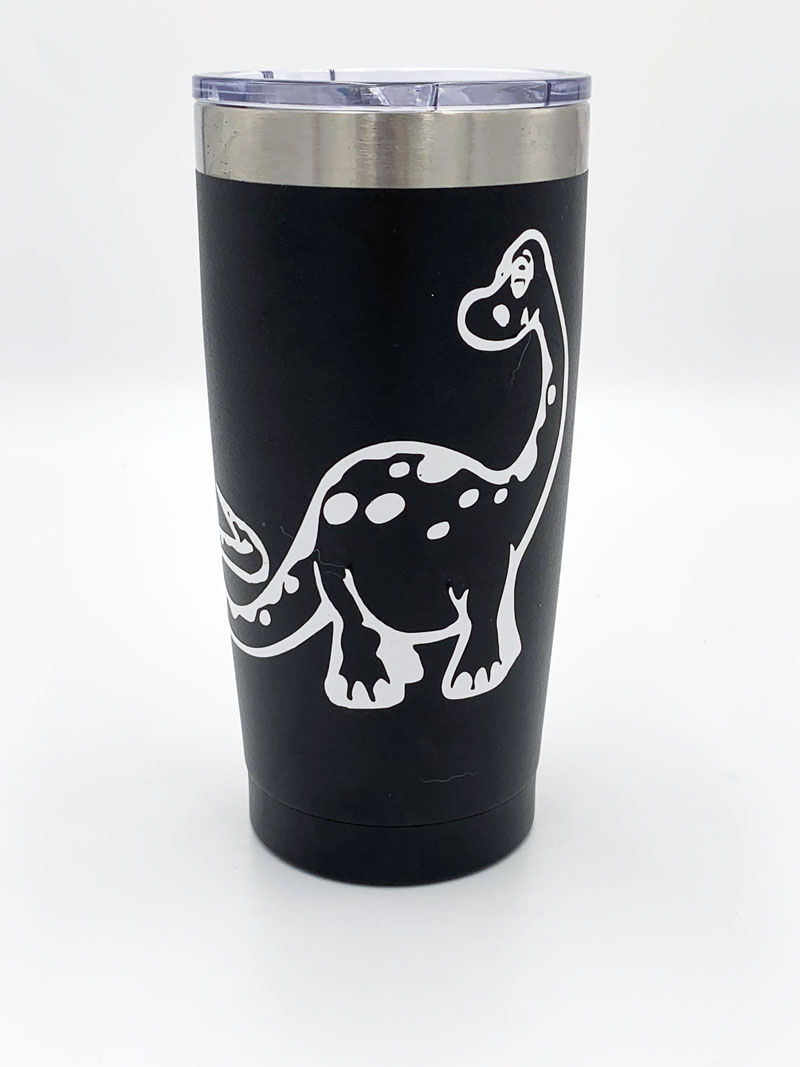
My daughter loves dinosaurs. However, when I was looking for something suitable for her that included a dinosaur everything was just a little too young, after all, she is 14 years old. This is where the Cricut Joy came in very handy. I was able to make my very own Dinosaur Tumbler with a design I knew she would like, and it only took a few minutes to make.
You can find the project in the Cricut Design Space: Dinosaur Tumbler. Set up your Cricut Joy, grab your design mat and color of vinyl and let’s get started.
Items Need:
- Standard Grip Mat
- Vinyl (color of choice)
- Transfer Tape
Instructions:
- Adhere vinyl to mat paper side down
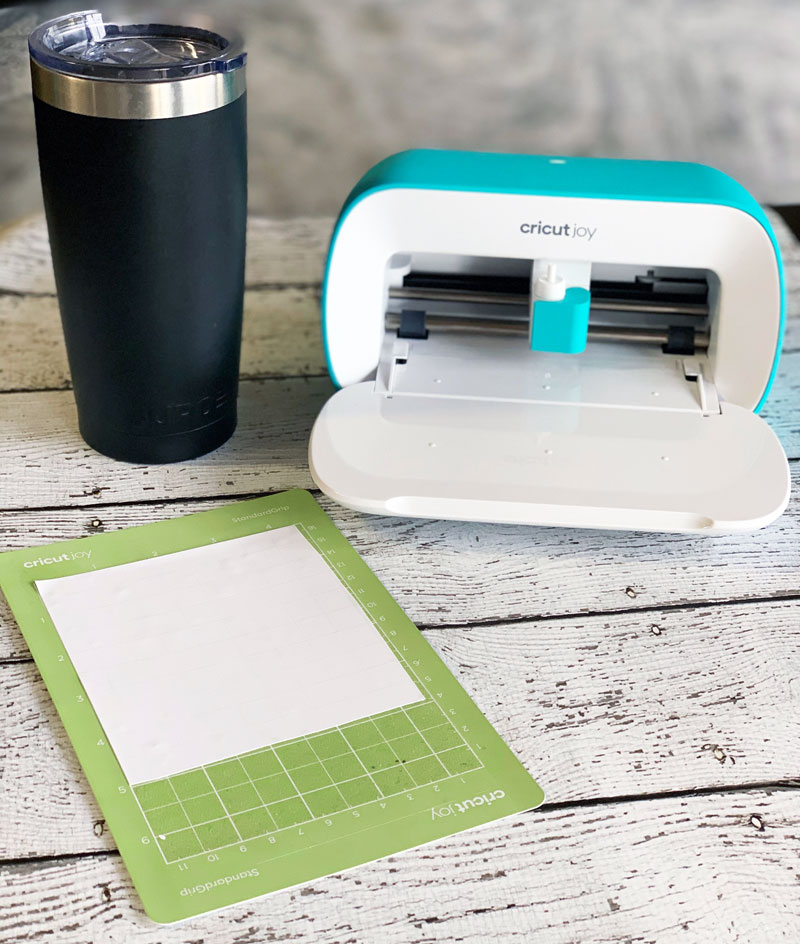
- Choose the design and click “Make it”
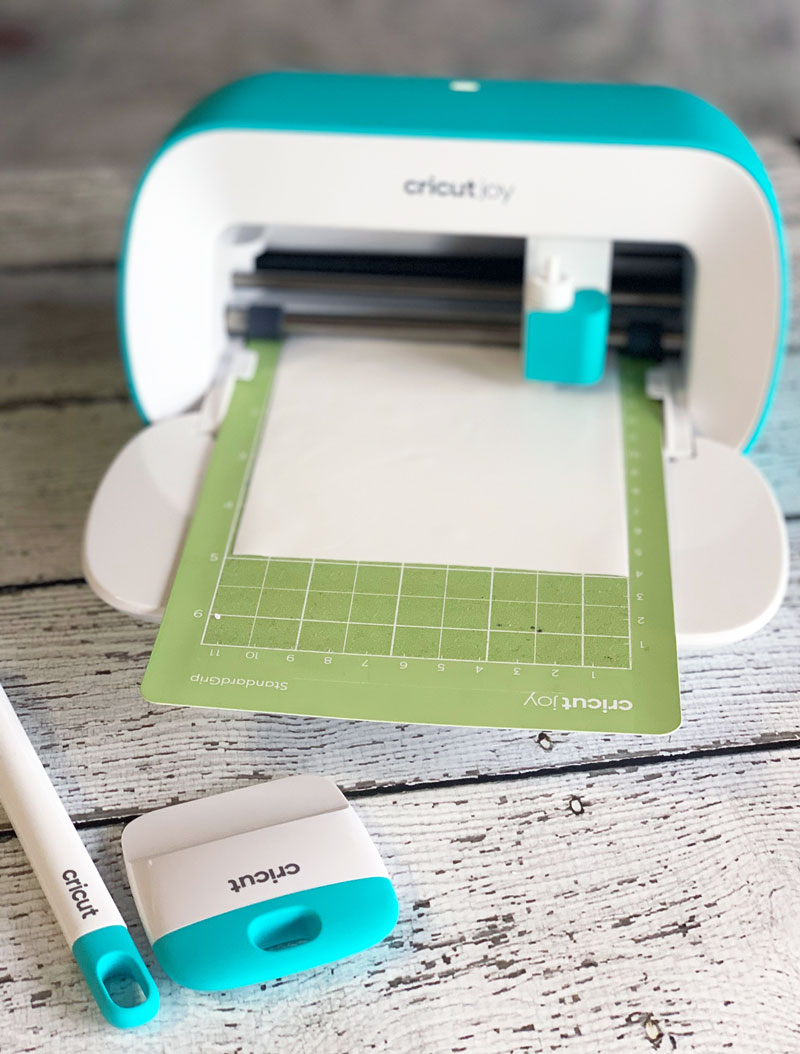
- Follow design instructions to cut design
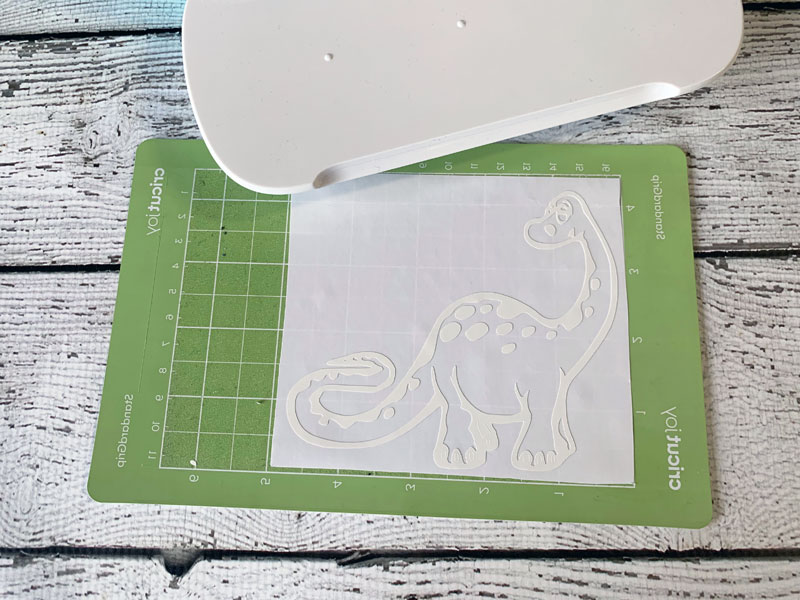
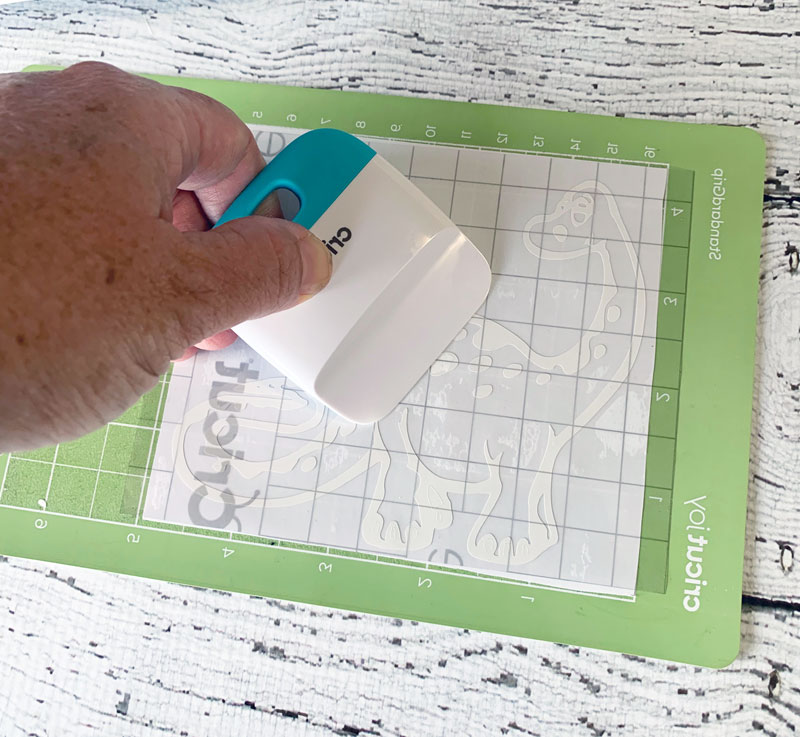
- Use transfer tape to prepare your design for transfer
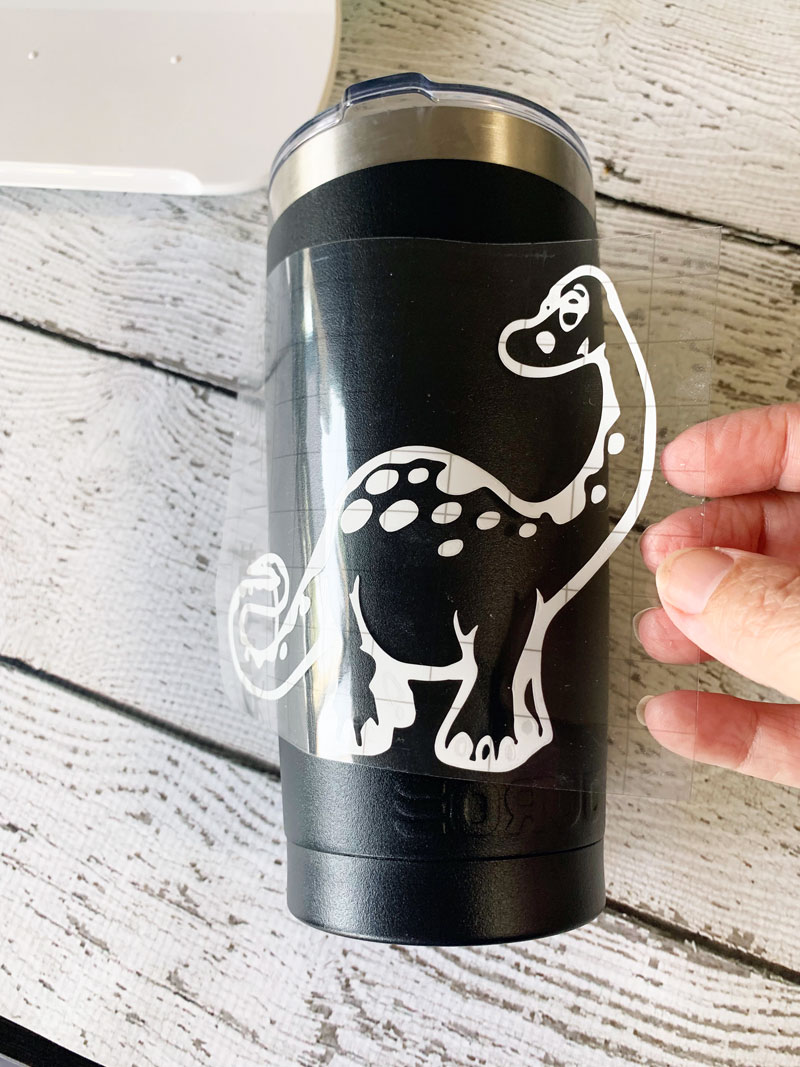
- Transfer your design to your tumbler
Custom Face Mask
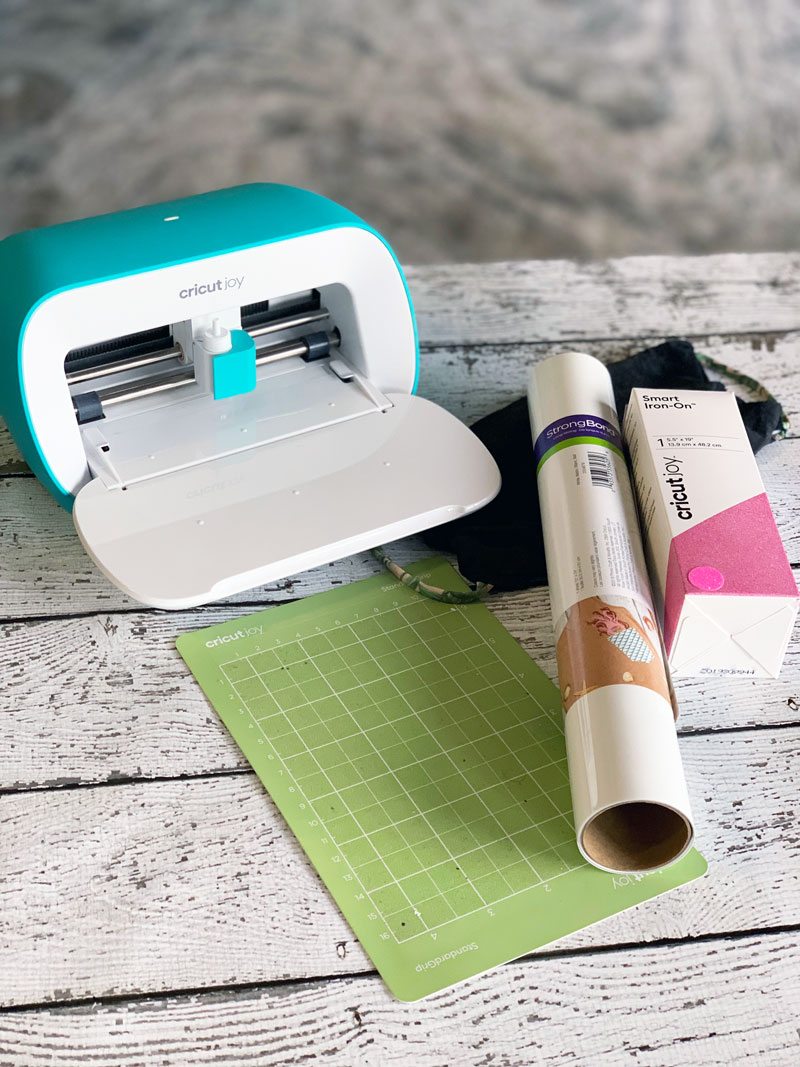
Both of my boys and their girlfriends work at a restaurant. So early on they were required to wear face masks at a time when trying to find one was impossible. So I took it upon myself to make each one of them a mask and allowed them to customize it. Thanks to my Cricut Joy it was easy to quick to customize each mask. This project is for the Pug Design to honor our furry family member Rex.
Items Needed:
- Face mask
- Iron on (two colors of your choice) – I have used white and pink
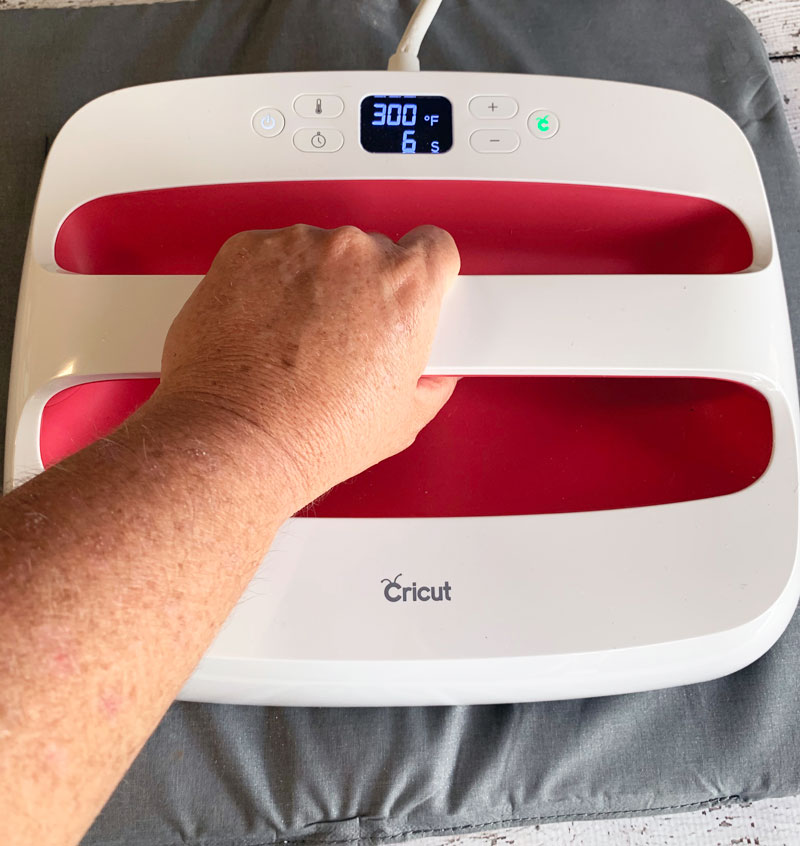
- Cricut EasyPress or Iron
Instructions:
- Adhere to Iron on to mat shiny side down
- Choose the Design and select “Make It” – be sure to select Mirror
- Cut out the Design
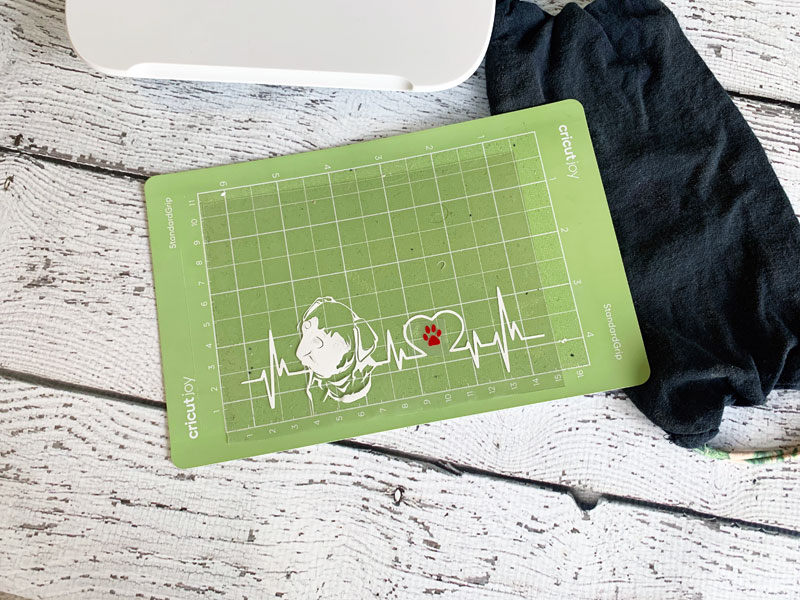
- Iron on each piece separately to your face mask
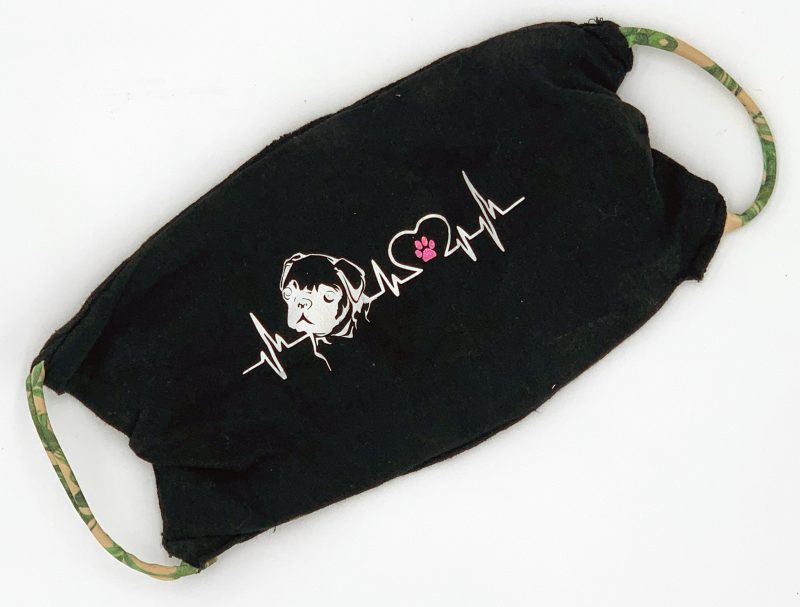
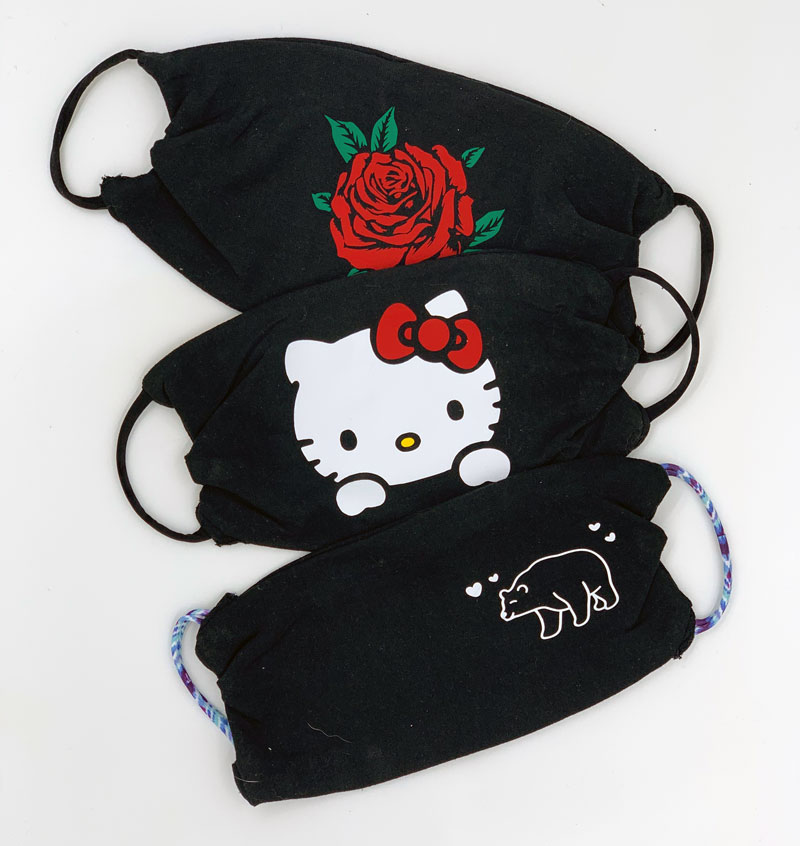
I get many compliments on my custom mask. After my family began wearing their masks I started getting people asking me to make them some as well. Pictured below are the masks I made for my family.
Happy Birthday Gorgeous
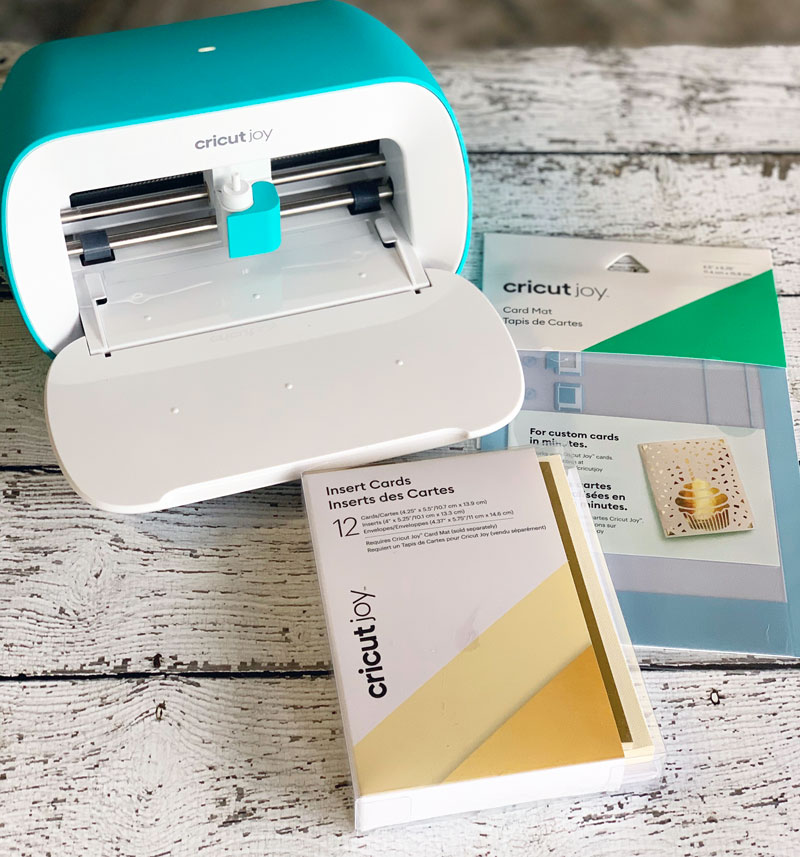
Another project that took mere minutes thanks to the innovative Cricut Joy Card Mat. My mother’s birthday is this month so I thought it would be fun to create her a unique birthday card.
Items Needed:
- Cricut Joy Insert Cards
- Cricut Joy Card Mat
Instructions:
The card mat you are going to use is unique in that it cuts through the front of the card without touching the back, thanks to the special design. Once cut you choose your insert and you have created a custom card in minutes.
- Insert the card into the Card Mat on right side under the divider
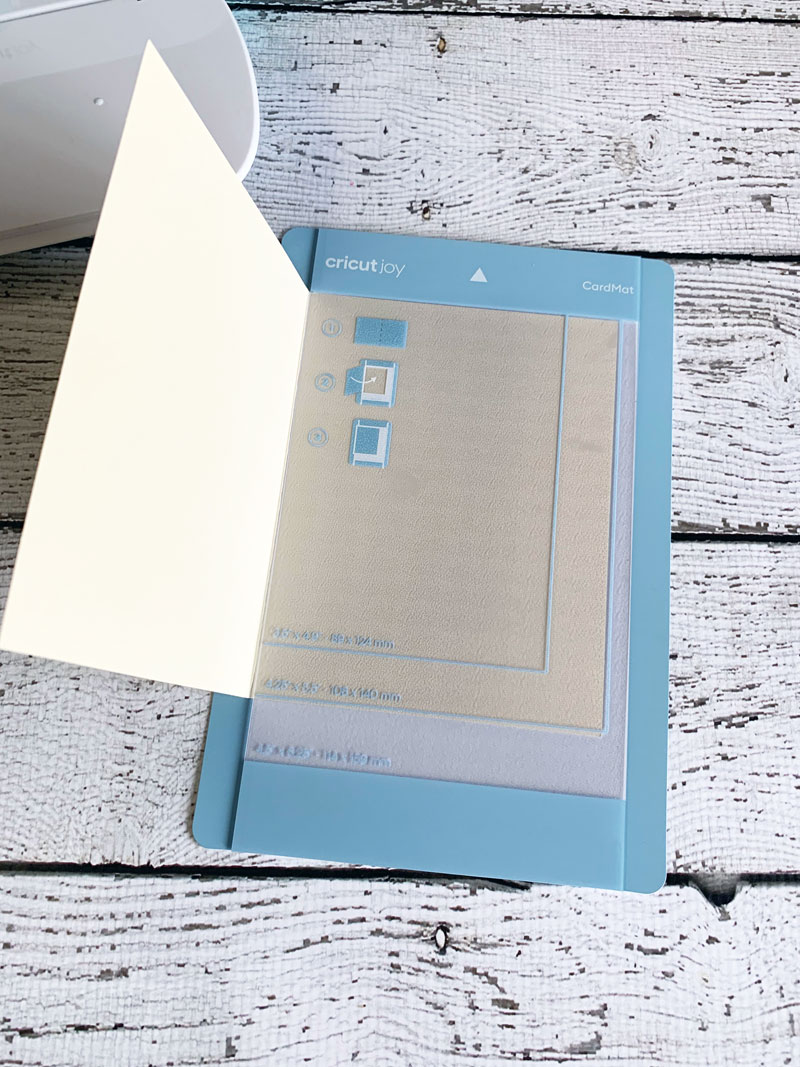
- Close the card and adhere to the mat
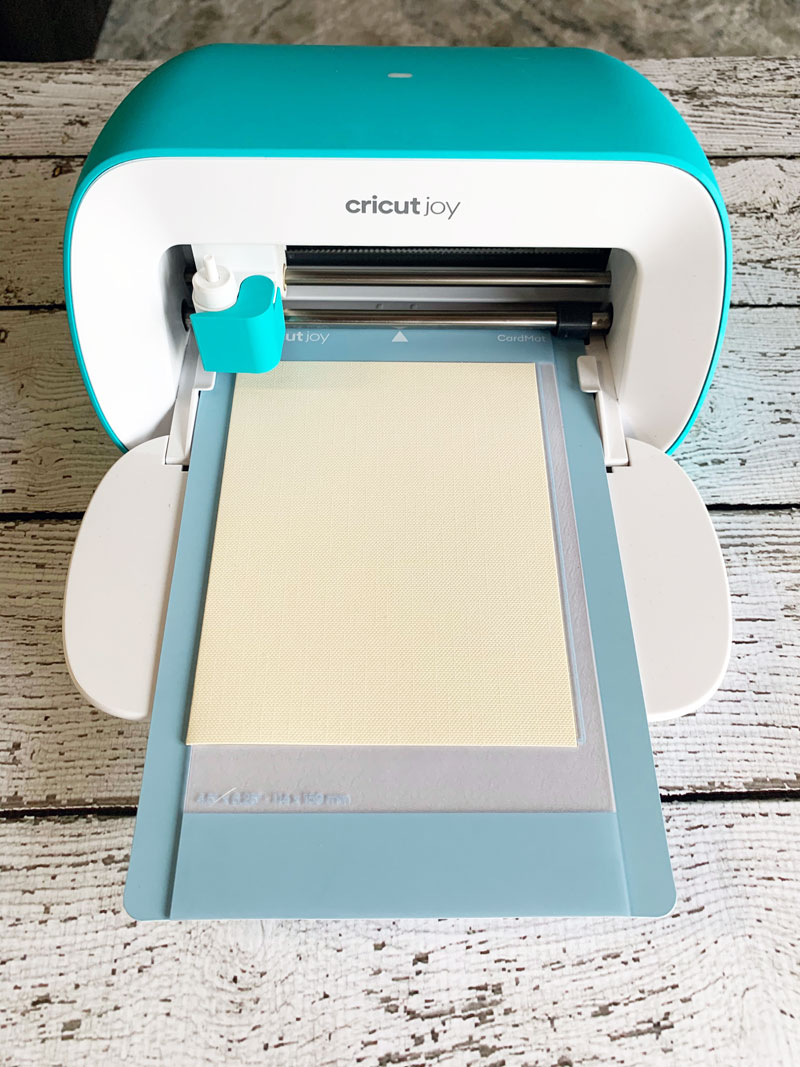
- Select your design and allow the Cricut Joy to cut it out. Then remove the card from the card mat. You will want to be very careful if you have an intricate design.
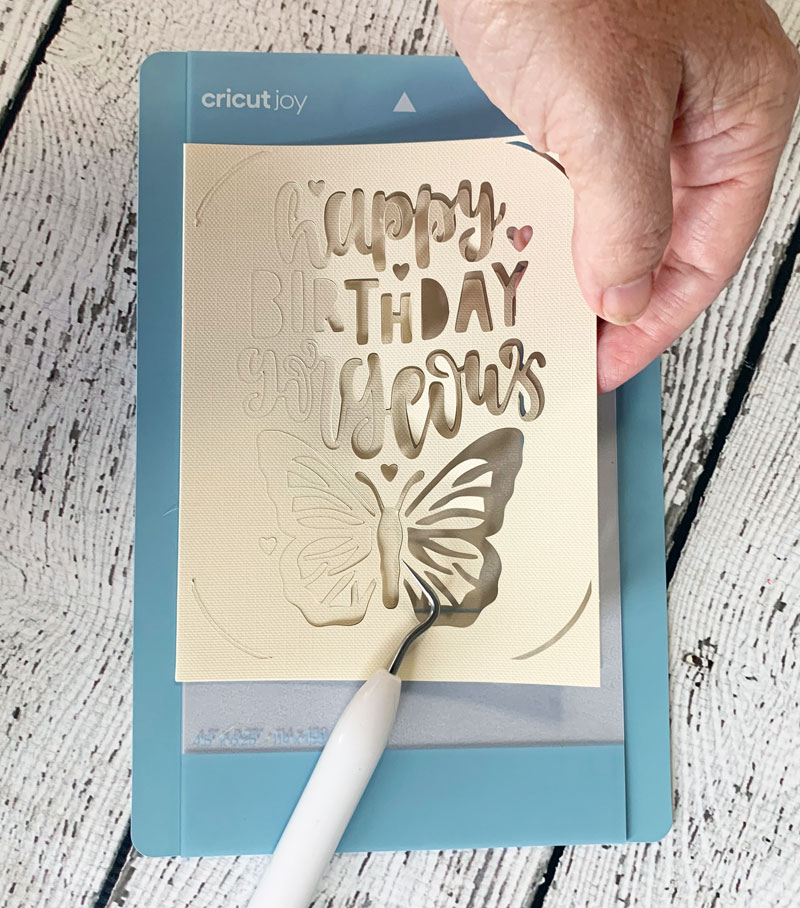
- Add an insert and secure at four corners
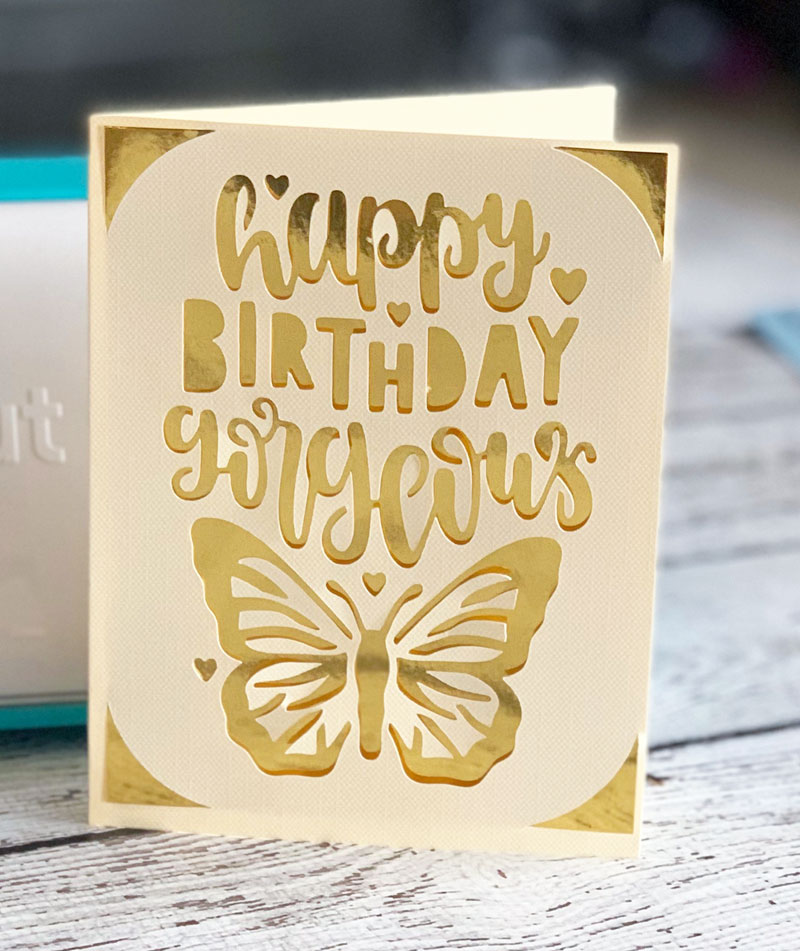
In mere minutes our card was ready. I wanted to show you how easy it was to make this card per the instructions. However, I wanted to customize it just a little more because a purple butterfly has a special meaning in my family. So below is my end result with just a little additional customization.
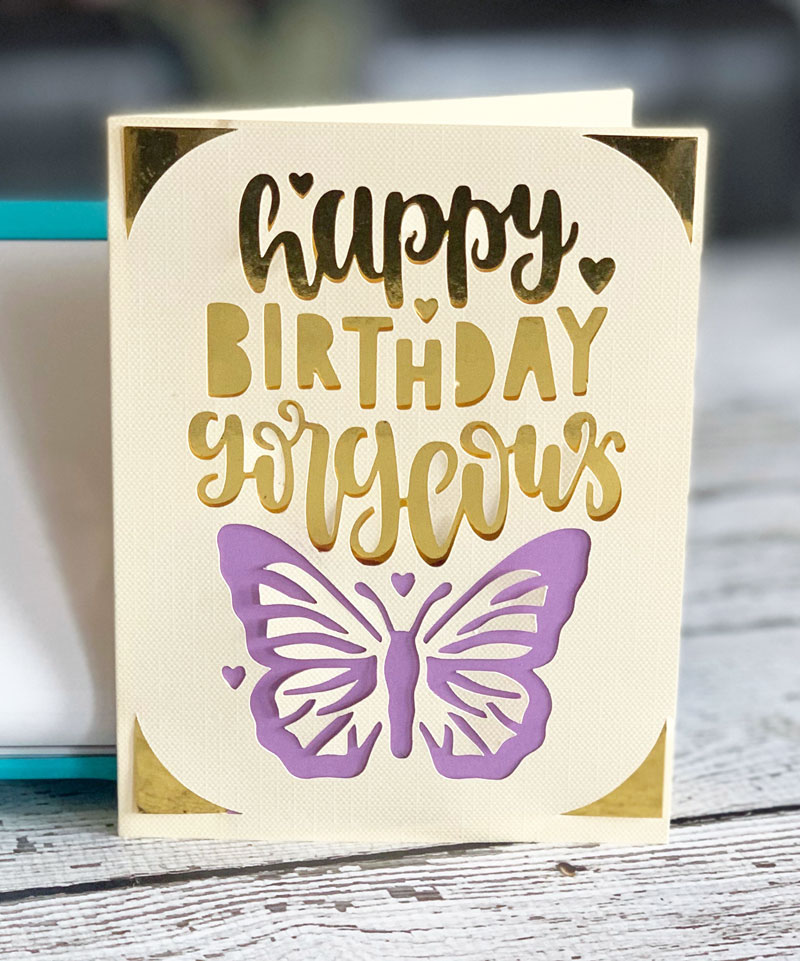
As you can see the Cricut Joy is extremely convenient and can create quick and easy projects. While all my projects shown here did use a mat the nice thing is not all projects require a mat. Cricut Joy has a full suite of brand-new materials that do not require a mat, meaning less to buy, fewer steps, and faster results. New Smart vinyl comes in extended sizes, with up to 20’ repeated cut capability, and no need to switch out multiple mats.