Last week we introduced you to our Cricut Explorer Air 2 which was an upgrade from our previous Cricut Explorer. The biggest difference between the machines, other than the color, is the Fast Mode available on the Cricut Explorer Air 2.
For our next projects, we combined the use of our Cricut Explorer Air 2 with the new Cricut EasyPress. The Cricut EasyPress 2 gives iron-on a whole new meaning. With predetermined time and settings depending on the material you are using and the material you are adhering to the Cricut EasyPress 2 takes all the guesswork out of your iron-on projects.
Cricut EasyPress 2
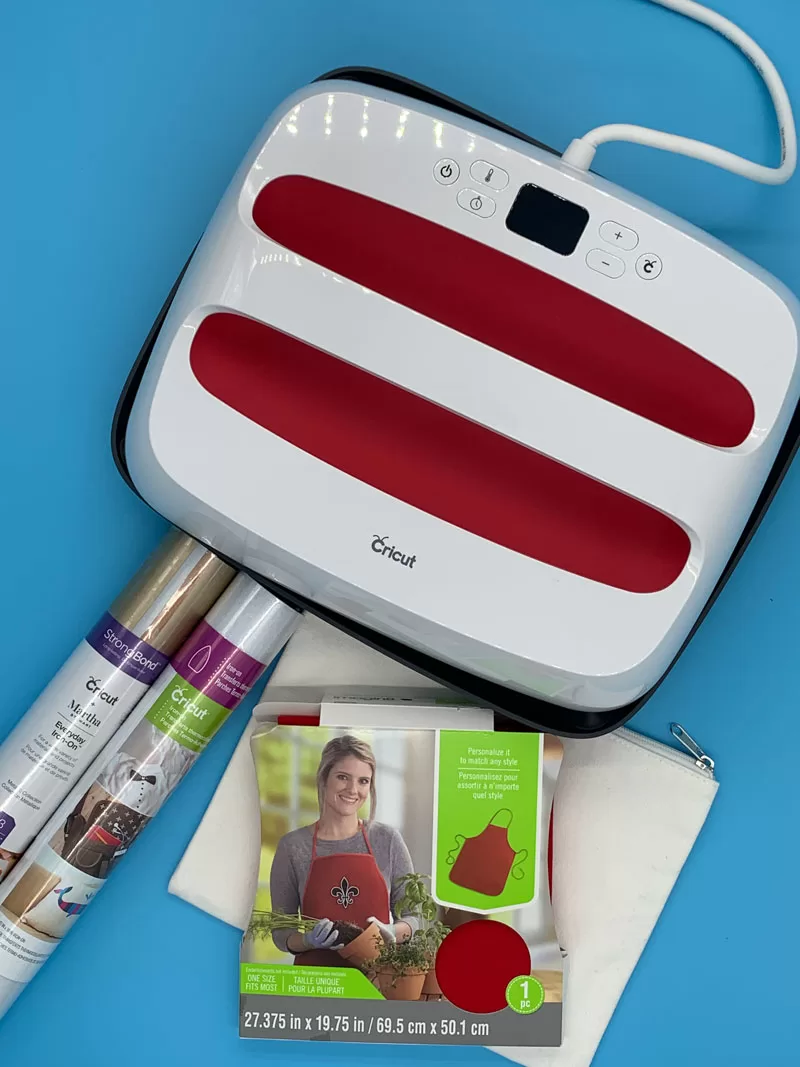
The Cricut EasyPress comes in four different sizes
- 12″ x 10″ the largest of the family and pictured above
- 9″ x 9″
- 6″ x 7″
- 1.92″ x 3.25″
We will be working with the large Cricut EasyPress 2 to create some beautiful projects.
Baby, It’s Cold Outside Apron
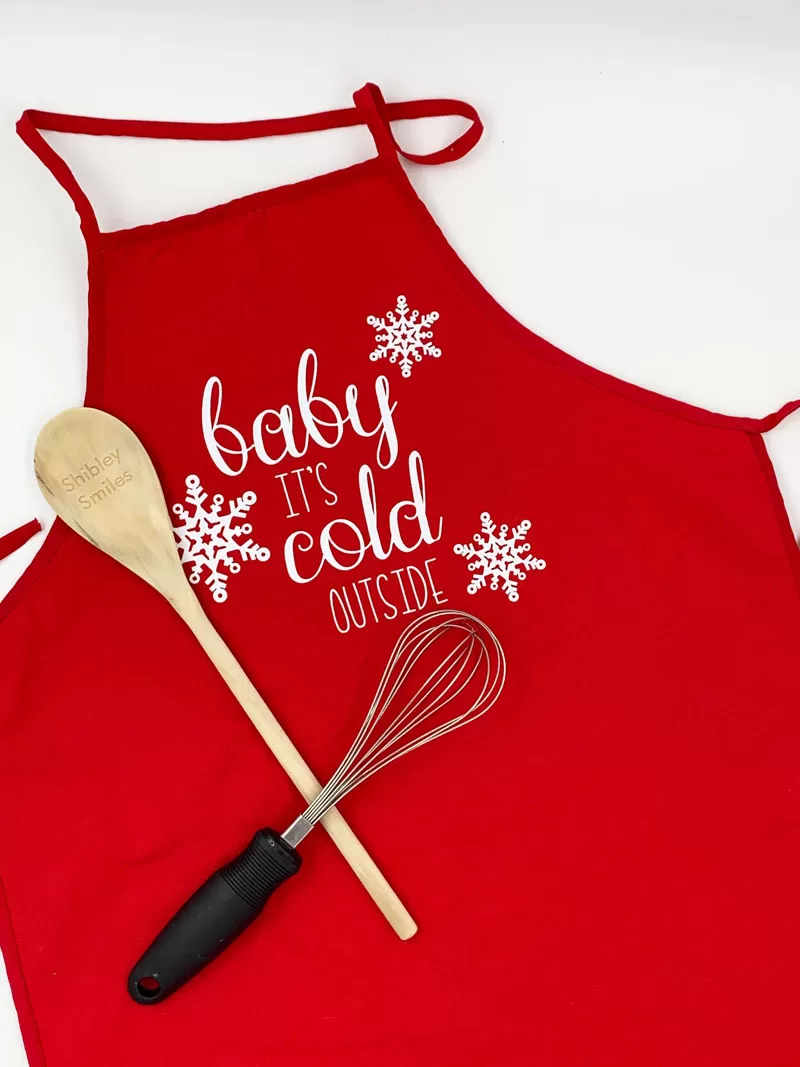
Materials To Cut
- Iron-on in glitter white
Everything Else
- StandardGrip Machine Mat – 12″ x 12″
- Weeder
- Apron (color your choice)
- Cricut EasyPress 2
- Cricut EasyPress Mat
Cut
- In Design Space, cut images from the iron-on.
- When cutting iron-on be sure to click ‘mirror’ for each iron-on layer before cutting.
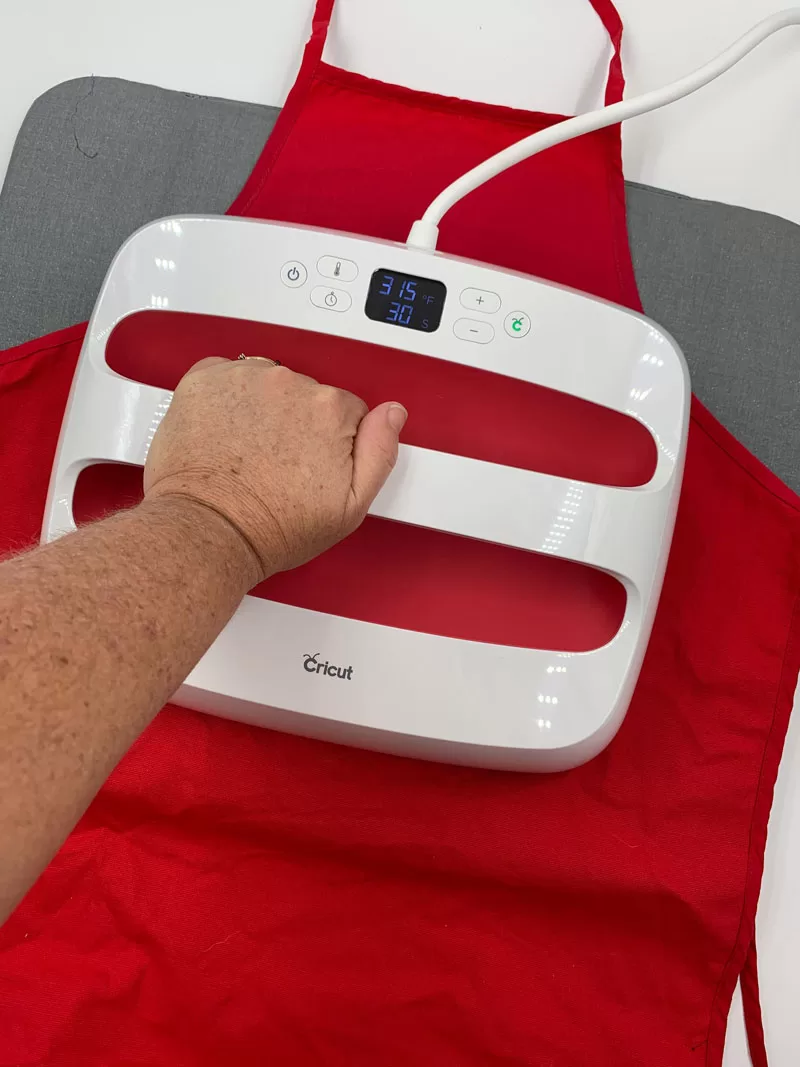
Assembly
- Follow the application instructions for Cricut Iron-on to apply the Iron-on pieces to the front of the apron using the Cricut EasyPress 2 and Cricut EasyPress Mat.
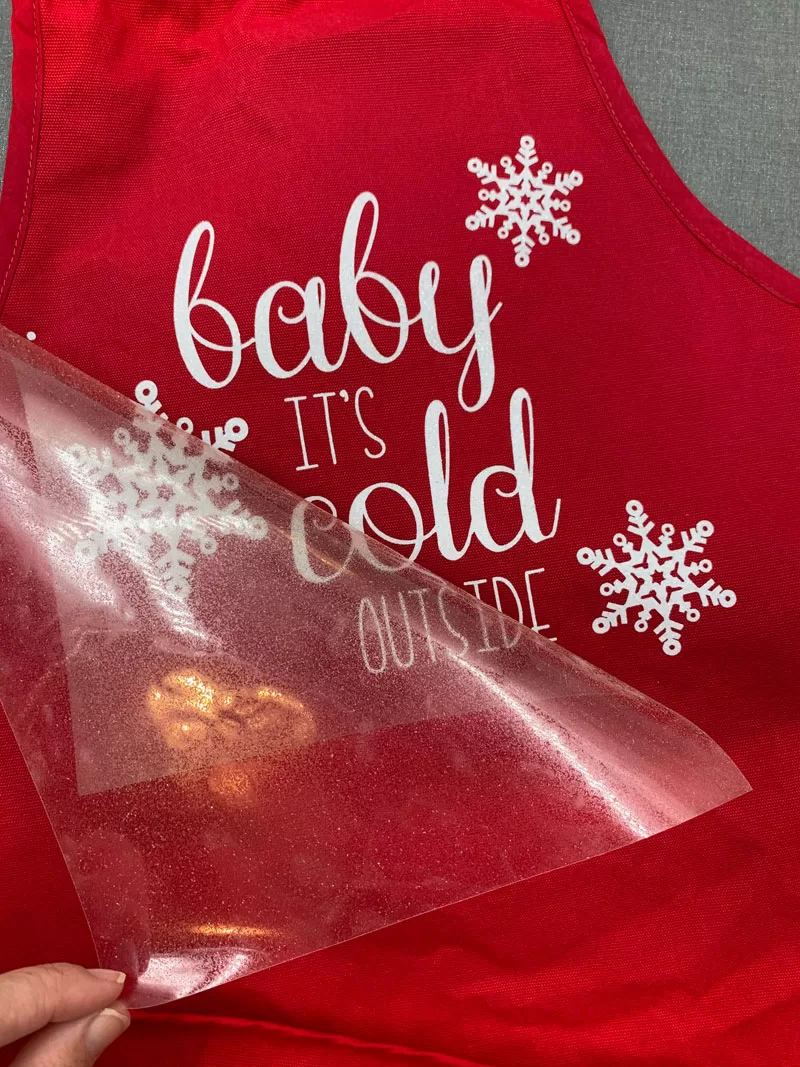
As you can see this is SUPER easy to make. Cut out your design on the Cricut Explorer Air 2 and then iron on with the Cricut EasyPress 2.
Apron Project Tips
A few tips on this project. While it is not part of the material needed your project will go much smoother with this weeder tool.
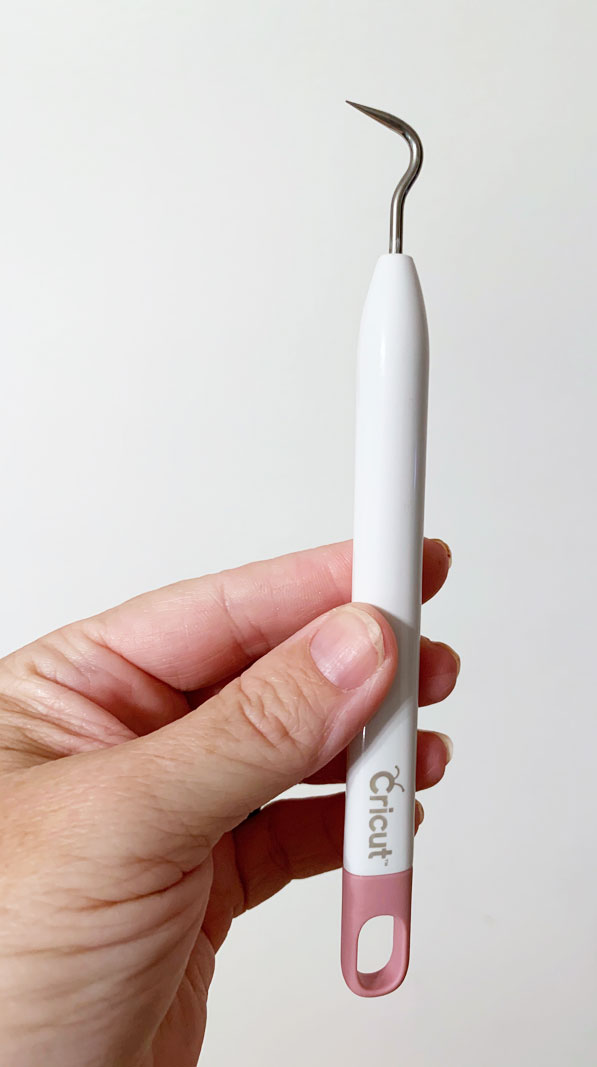
Tip 1: Trust me you want this in your arsenal of Cricut tools. I had no idea the pattern I chose was going to have so many small negative spaces that would need to be removed to create the design. The way the iron-on designs are created with the Cricut is the design is cut on the iron-on portion only. The clear liner is left intact, which means you have to remove all the little cut-outs between the letters and snowflakes. This weeder tool is a MUST!
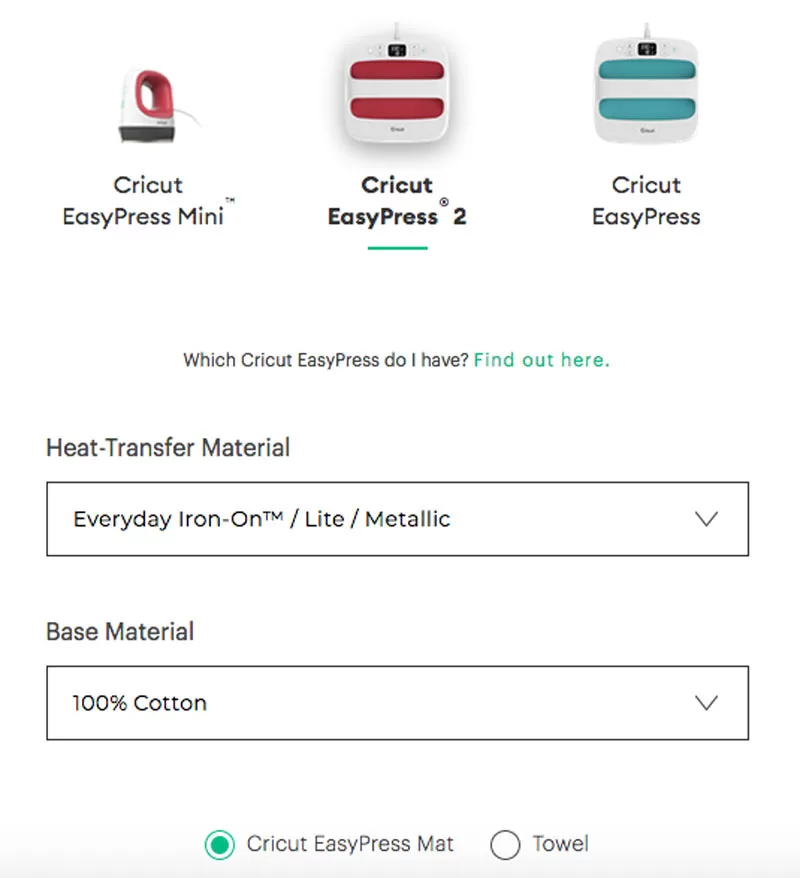
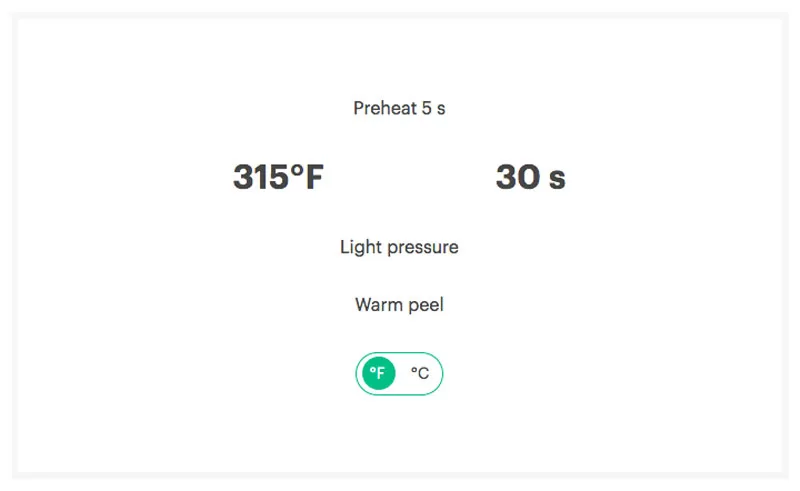
Tip 2: When using the Cricut EasyPress 2 you will want to visit Cricut to find out the correct temperature and time to press your design for the perfect outcome.
A Smile is the Best Makeup
I am very proud of this next project because this was my own design and not a ready-made design. Don’t get me wrong Cricut has some AMAZING and tons of ready-made design, but it is fun to create your own. This design was inspired by a product I purchased at my local Bealls Outlet store the previous weekend.
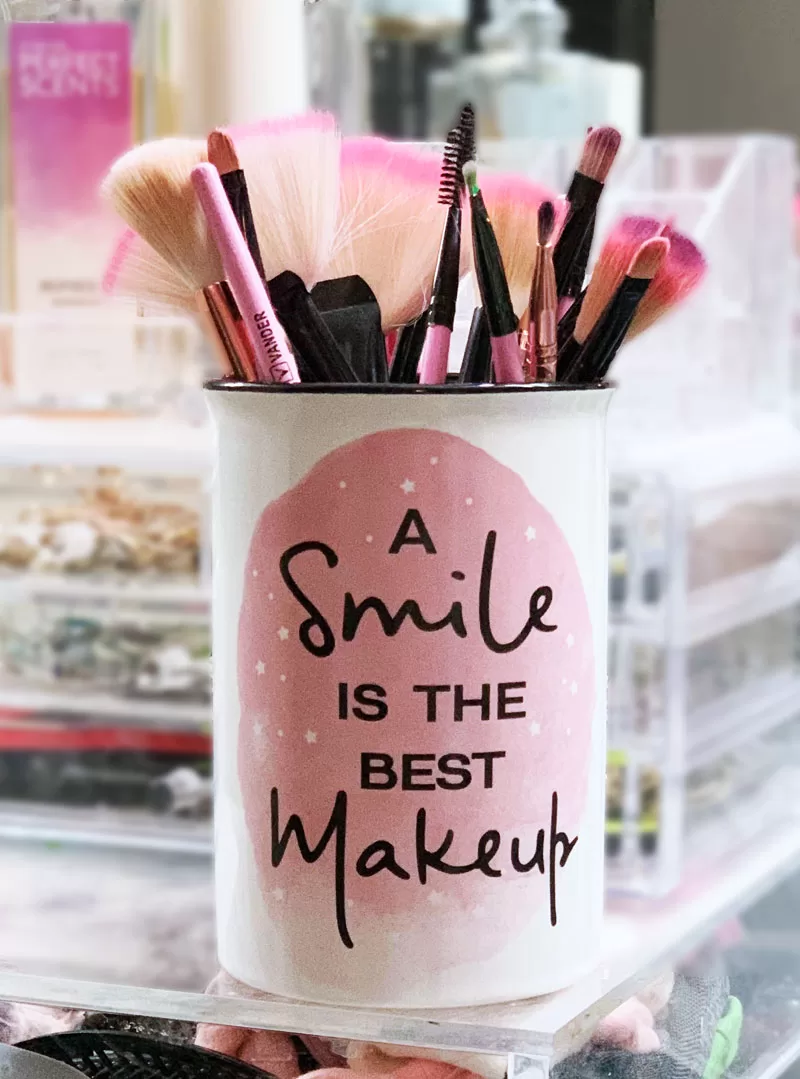
I absolutely LOVE this saying and decided it would be great to put it on a makeup case.
Materials To Cut
- Iron-on in your chosen color
Everything Else
- StandardGrip Machine Mat – 12″ x 12″
- Weeder
- Makeup case (color your choice)
- Cricut Easy Press 2
- Cricut Easy Press Mat
Cut
- In Design Space, cut images from the iron-on.
- When cutting iron-on be sure to click ‘mirror’ for each iron-on layer before cutting.
As you can see the instructions are pretty much the same as the above the only difference is you create the design yourself. The font used for the Smile and Makeup is Emiline. The other font is any basic font.
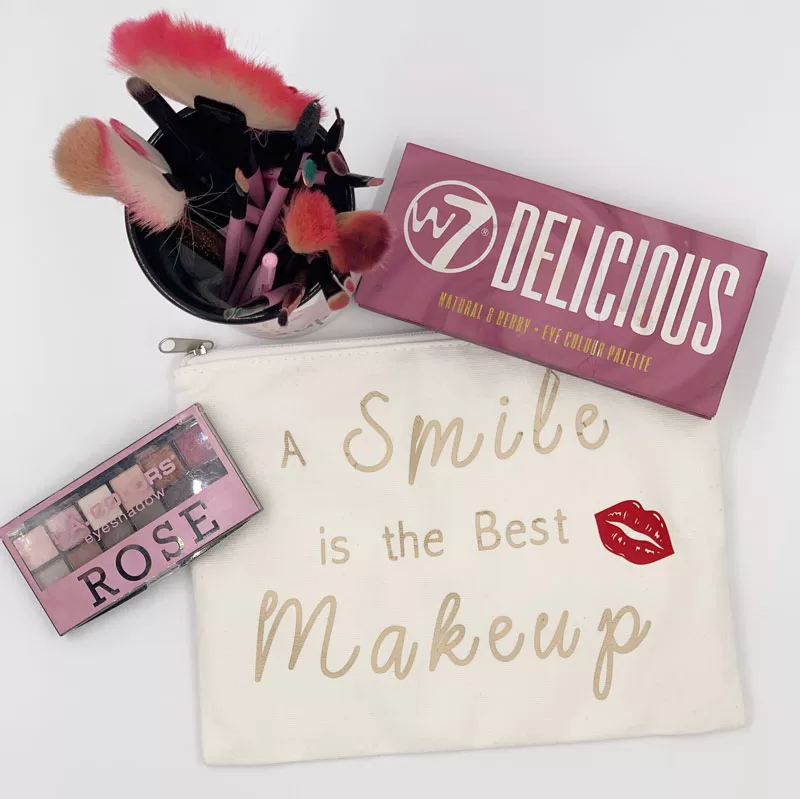
We had so much fun making these two projects, and we can’t wait to share with you our next Cricut project!