Gluten-free baking has come a long way from dense, crumbly loaves and gritty cookies. Today, home bakers can turn out tender cakes, chewy brownies, and flaky pie crusts that rival their wheat-based counterparts.
The trick is understanding how gluten-free ingredients behave differently. Gluten gives traditional baked goods their stretch and structure, so when it’s missing, a few smart adjustments make all the difference. These gluten-free baking tips will help you achieve better texture, moisture, and consistency in your favorite recipes.
1. Store Gluten-Free Flours the Right Way
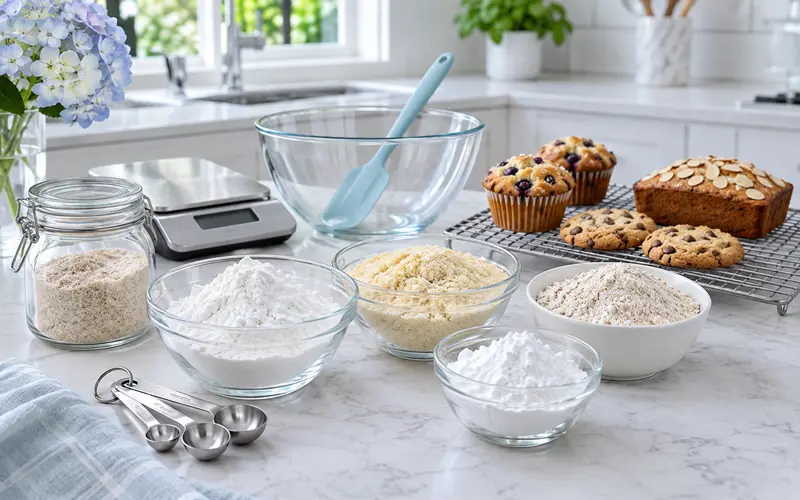
Gluten-free baking often calls for several flours, including rice flour, almond flour, oat flour, and tapioca starch. Keeping each one in an airtight container protects it from moisture, pantry pests, and the stray wheat flour that can drift around a busy kitchen.
Nut and whole-grain flours contain natural oils that can turn rancid over time, so many bakers store them in the refrigerator or freezer. Clear, labeled containers make it easy to see what you have on hand, while an organized kitchen stocked with non toxic cookware and other baking essentials makes preparation more convenient.
Dedicated storage is especially important if you bake for someone with celiac disease. Even a small amount of cross-contact with wheat can cause problems, so separate containers and labels are worth the effort.
2. Use a Flour Blend Instead of a Single Flour
Most traditional baking recipes benefit from a blend of gluten-free flours rather than relying on a single variety. Different flours and starches contribute their own qualities:
- Rice flour provides structure and a relatively neutral flavor.
- Tapioca starch adds elasticity and helps create a chewy texture.
- Potato starch contributes tenderness and helps retain moisture.
- Sorghum and oat flour add flavor and nutritional variety.
Store-bought blends are a convenient starting point, and many are designed to swap one-for-one with all-purpose flour in certain recipes. Once you’re comfortable, you can experiment with your own blends to suit different baked goods.
3. Add a Binder Like Xanthan Gum or Psyllium
Without gluten, doughs and batters often need help holding together. Xanthan gum, guar gum, and psyllium husk can provide some of gluten’s binding properties, helping prevent cookies from crumbling and breads from collapsing.
Check whether your flour blend already includes a binder before adding more. Too much can make baked goods gummy, so follow the recipe closely until you get a feel for the right amount.
4. Weigh Your Ingredients
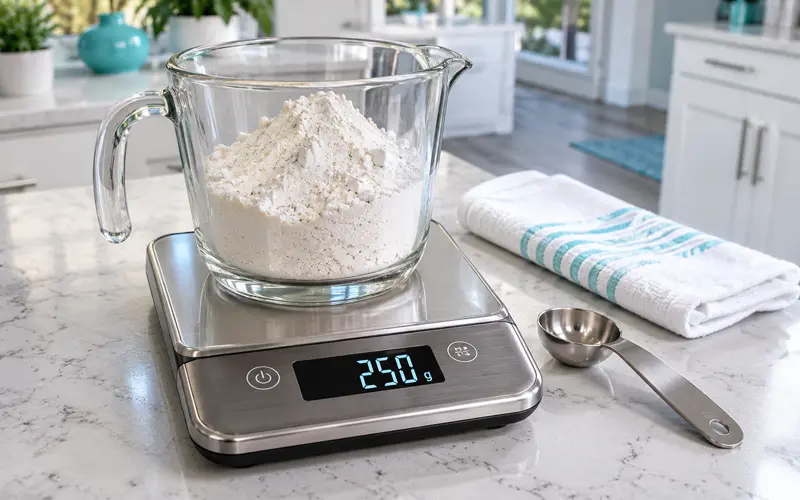
Gluten-free flours vary widely in weight, so a cup of almond flour and a cup of rice flour won’t behave the same way. A kitchen scale gives you far more consistent results than measuring cups.
Many tested gluten-free recipes list ingredients in grams for this reason. Weighing also means fewer dishes to wash, since you can measure ingredients directly into your mixing bowl.
5. Let Batters and Doughs Rest
Many gluten-free flours benefit from additional time to absorb liquid. Letting certain batters and doughs rest for 20 to 30 minutes before baking allows the flours to hydrate, improving texture and reducing grittiness.
This step can be particularly helpful with pancakes, cookies, and some muffin batters. However, resting isn’t necessary for every recipe, especially those that depend on baking powder or baking soda for their rise. Follow the recommended resting time in your recipe for the best results.
6. Add Extra Moisture and Fat
Gluten-free baked goods can dry out faster than traditional ones, making moisture an important consideration when developing or adjusting recipes. Several common ingredients can help improve the finished texture:
- Sour cream or yogurt adds moisture and helps create tender cakes and quick breads.
- Applesauce provides moisture and softness, particularly in muffins and snack cakes.
- Extra egg yolks contribute richness and help improve structure.
- Butter adds richness and tenderness when used in the proper proportion.
- Brown sugar or honey helps retain moisture and can keep cookies chewy longer.
These ingredients aren’t interchangeable in every recipe, and adding too much liquid or fat can affect how baked goods rise and hold together. Start with a tested gluten-free recipe and make small adjustments as you become familiar with the results.
7. Prevent Cross-Contact in Your Kitchen
If you’re baking for someone with celiac disease, keeping gluten out of the entire process is essential. The National Institute of Diabetes and Digestive and Kidney Diseases explains that people with celiac disease need to avoid foods and drinks containing gluten, including hidden sources in packaged foods.
Read ingredient labels carefully and look for products marked gluten-free. Under federal rules, foods labeled gluten-free must contain less than 20 parts per million of gluten. Pay particular attention to oat flour and other oat-based ingredients, choosing products specifically labeled gluten-free to reduce the risk of cross-contact during processing.
Before preparing gluten-free recipes, take a few additional precautions:
- Thoroughly clean countertops, mixing bowls, pans, and utensils.
- Use separate sifters and other equipment that may trap flour.
- Avoid shared wooden utensils and scratched surfaces that are difficult to clean.
- Keep gluten-free ingredients away from regular flour and shared preparation areas.
8. Check Baking Times and Cool Completely
Gluten-free baked goods sometimes require different baking times than their wheat-based counterparts. Follow the recipe’s recommended timing and check for doneness using appropriate visual and texture cues, such as golden edges or a toothpick inserted into the center of a cake.
Cooling is equally important. Gluten-free breads and cakes continue to firm up as they cool, and slicing too soon can leave them gummy or cause them to crumble. Allow baked goods to cool according to the recipe’s instructions before serving or storing them.
Baking Gluten-Free With Confidence
Successful gluten-free baking starts with good habits: proper flour storage, the right blend and binder, accurate measuring, and attention to moisture. Understanding how these ingredients work together makes it easier to produce cakes, cookies, and breads with the texture and flavor you’re looking for.
As you become familiar with different flour blends, moisture levels, and baking times, you’ll develop a better understanding of what works for each recipe. Those small adjustments can make gluten-free baking more consistent and rewarding.