I wish I could just plunk down all the money in the world to remodel our bathrooms, kitchens, and floors, but if I had that much money, I probably would have just purchased a new home. So instead, I am using Google to help me remodel my bathroom in an inexpensive way. One of the things I decided to tackle while I was on vacation was painting our old, outdated laminate bathroom cabinets. I researched what you need and got to work on my DIY Bathroom Cabinet Makeover.
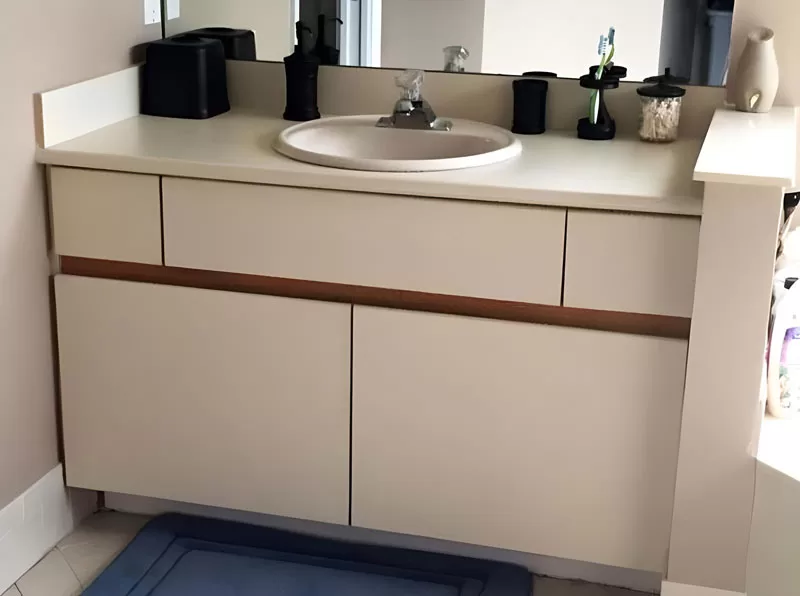
Laminate Cabinet Remodel
I actually also have another cabinet outside of the bathroom (my sitting area); however, I am saving that to tackle another day.
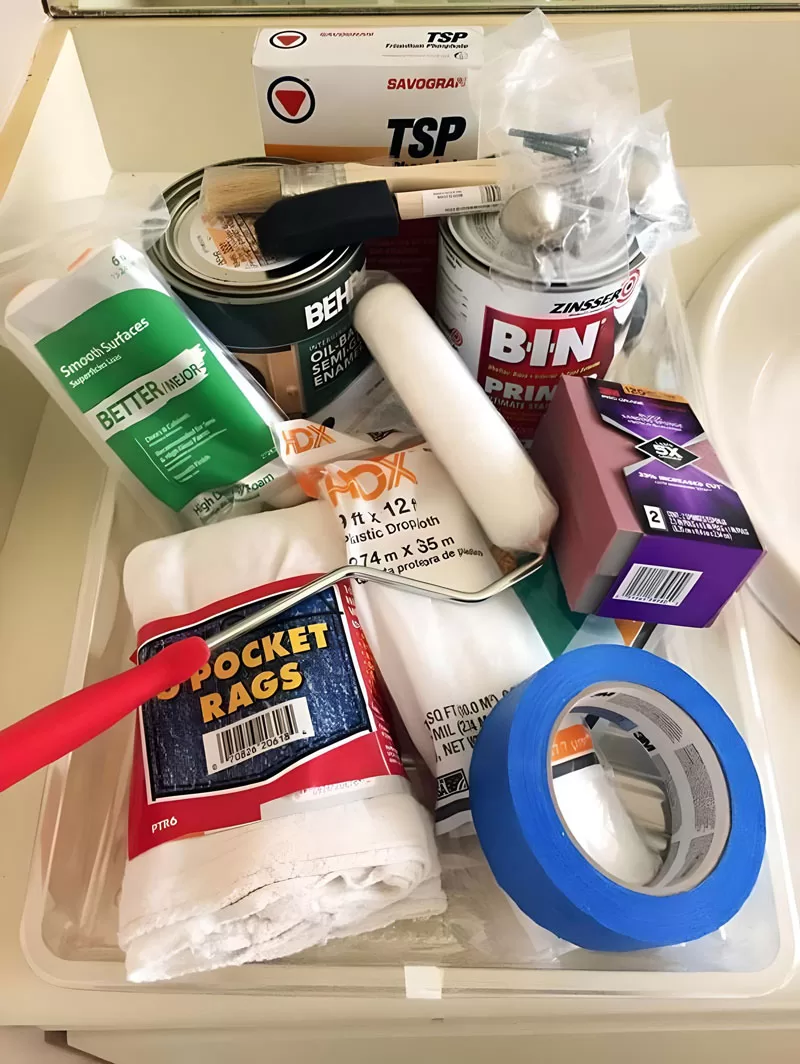
Supplies Needed to Paint Laminate
- TSP ( Tri-Sodium Phosphate) Cleaner
- Sandpaper or block 150-grit
- Primer (B-I-N Shellac Base)
- Paint Roller
- Painting tape
- Paint Tray
- Oil-Based or Latex Paint (of your color choice)
Optional
- Brush (with natural bristles)
- Rags or a sponge
- Drop Cloth
- Gloves
- Mask
- Tack Cloth
- Sandpaper or block 220-grit
My total cost for supplies was approximately $79, but this cost could vary based on what you already have on hand.
I’m no expert, and I don’t even enjoy painting, but I wanted to tackle this project myself and hopefully improve the look of my bathroom.
Steps for your DIY Bathroom Cabinet Makeover
Clean
Clean the cabinets you are going to paint with the TSP degreaser. Make sure to remove any dirty or sticky spots. When finished with this step, wipe off again with water or soap and water to remove any leftover residue.
Sand
Sand the cabinets with the 150-grit sandpaper or block. If you have a sander, this is definitely an option. I had to do mine by hand. The point of this step is to help rough up the laminate so the primer will stick. (The primer does state no sanding needed; however, I am disregarding this information). When this is done again, wash down with water or a tack cloth to remove all dust caused by sanding.
Tape
Tape all areas you want to make sure do not get paint on them, such as walls, floors, and countertops. I also encourage you to use a drop cloth to help keep the floor paint-free. It also gives you a place to put your paint tray and cans. At this time, you can remove your drawers and doors (I would have preferred to paint them connected, but I was unable to get into the small spaces between the cabinet doors and the wall).

Primer
Apply primer to your cabinets. Due to the size of my cabinets, I had to use the brush on the small hard-to-get areas, and I used the roller on the drawers, doors, and larger areas. Be sure to watch for streaks and drips and apply as smoothly as possible. I found that the primer dried very quickly, and according to the can was dry in 45 minutes. Per the instructions I found online, some people suggest following the directions per the can, and others say to let the primer cure for 2-3 days (I let it sit for about 2-3 hours and had no problems).
Sand Again
Sand again to help smooth out your primer just a bit using 220-grit sandpaper.
Paint
Apply your latex or oil-based paint. I chose oil-based due to my research stating that most people use oil-based paint in bathrooms and kitchens because it is easier to clean and more durable. I will say that it is thick, and I thought a little harder to work with. (Difference between oil and latex paint) I also had a semi-gloss paint and am wondering if a flat would have looked a little more natural. I am considering switching paints for the other cabinet. If you feel a second coat is necessary, it is recommended that you lightly sand in between coats.
Install hardware
Once your cabinets are dry, you can install new hardware.
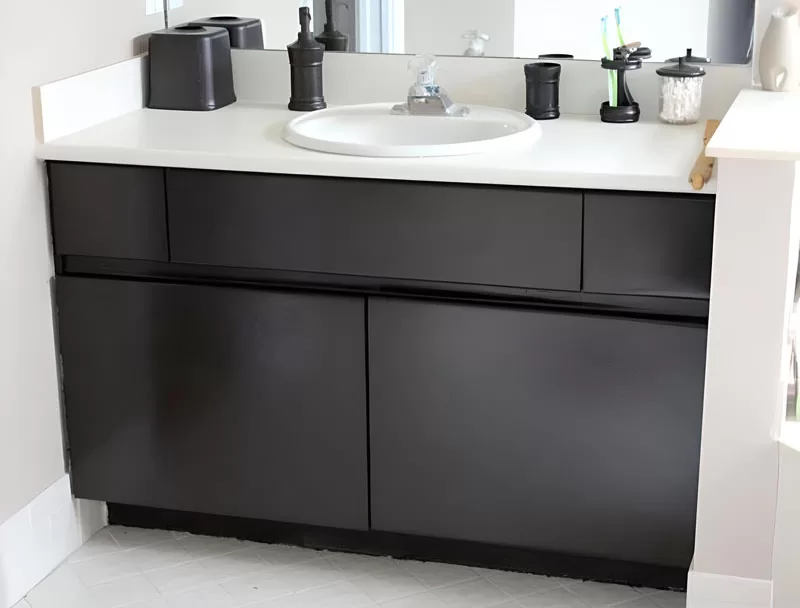
Laminate Cabinet Remodel After
Afterthought Tips
- I do have a few tips regarding my experience. If you can be patient, I recommend you wait a good week (if you use oil-based paint) before reattaching your cabinets. I thought they were dry enough after 3 days, but I was having problems getting the hardware properly aligned. When I was done, I had smudges in my paint from holding the door up and working at the same time. It is not noticeable in the photo.
- Unless you are partial to the oil-based paint, I suggest using semi-gloss.
- Don’t take the cabinet doors off if you can help it; it is much easier to keep them intact, and you run less of a risk of the hinges not going back on correctly.
I bought some silver pulls for the cabinets, but I haven’t decided if I should install them or not. The thought was that with the pulls, your hands would be touching the paint a lot less, and it would hopefully last longer. I also am thinking of trying the Giani Granite and creating a faux granite countertop, but again, I’m undecided. Overall, I LOVE the color and I think that it looks so much nicer and up to date! If you don’t have the money to pay a professional, I highly recommend you tackle your own DIY Bathroom Cabinet Makeover.