Are you ready for the holidays? My husband enjoys Christmas today as much as he did as a kid. He loves to start his shopping early and ask you if you want to know what he bought you. I think he is more excited about giving than he is about getting. Last year was the first year since we have been together, 1, 2, 3, oh yeah 25 years that he has helped me decorate our home for the holidays.
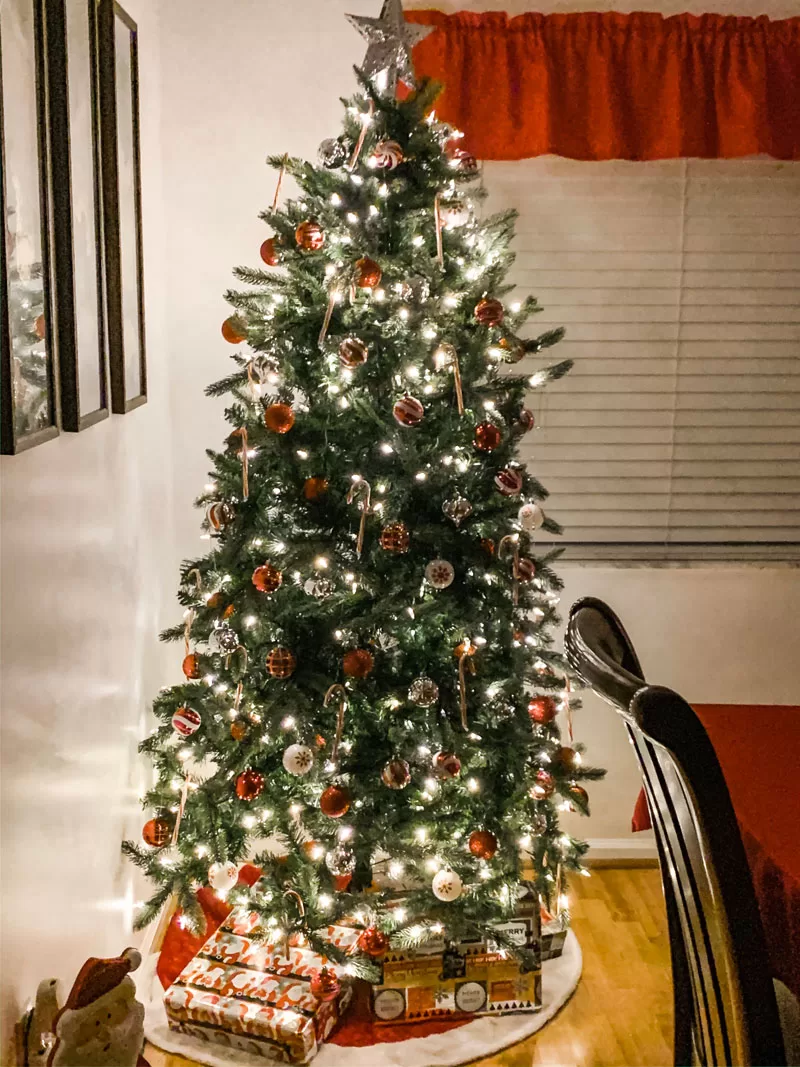
He even decorated his very own Christmas tree. It was so nice decorating the house together, and this year he was ready to go before our usual time to begin decorating, which is Thanksgiving weekend. I love to add new decorations each year and it is my tradition to purchase something after Christmas. It is always a surprise to see what I purchased because I can never remember. However, I think I am going to start a new tradition, in which I make something each year to add to our décor.

Nativity scene craft project
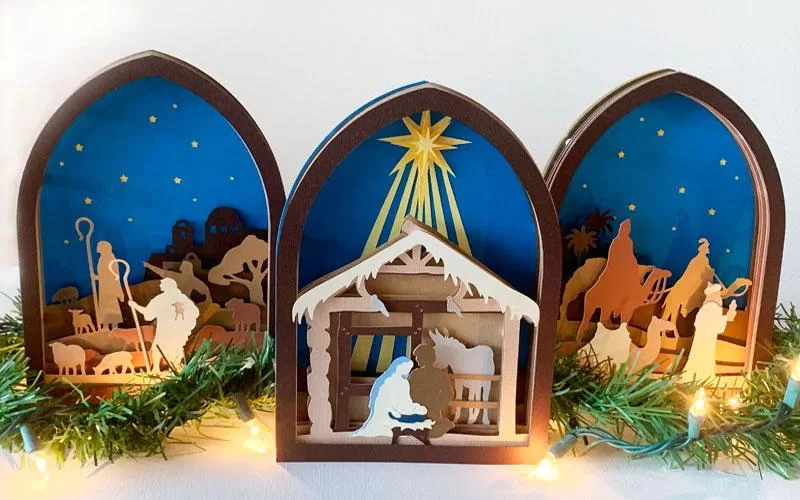
This year my daughter and I had the pleasure of partnering with Cricut to create some fun holiday projects like these Halloween Luminaries and our Holiday apron. For our holiday décor, we chose a cute 3-D nativity scene craft project. This project is considered an “Intermediate” project by Cricut. I will say that it isn’t hard, but it is time-consuming. The end result, however, is a beautiful addition to any holiday décor. Celebrate the meaning of the season with these dimensional Christmas Nativity scenes. Each scene shows a detailed glimpse into the Christmas story.
Finished Size
Approximately 18.6″ x 8.1″ (47.2 cm x 20.6 cm)

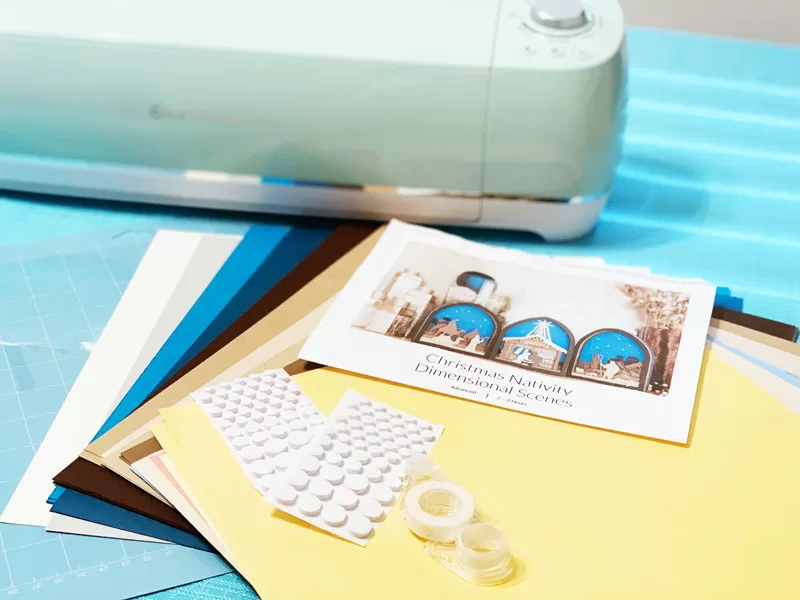
Materials To Cut
- Cardstock, Grey
- Cardstock, Cream
- Cardstock, Blue (3)
- Cardstock, Dark blue
- Cardstock, Dark brown (6)
- Cardstock, Light Brown (3)
- Cardstock, Sand (3)
- Cardstock, Clay (2)
- Cardstock, Brown (3)
- Cardstock, Light blue
- Cardstock, Beige
- Cardstock, Peach
- Cardstock, Light yellow
- Cardstock, Yellow (2)
Everything Else
- LightGrip Machine Mat
- Adhesive for Paper
- Adhesive Foam Dots

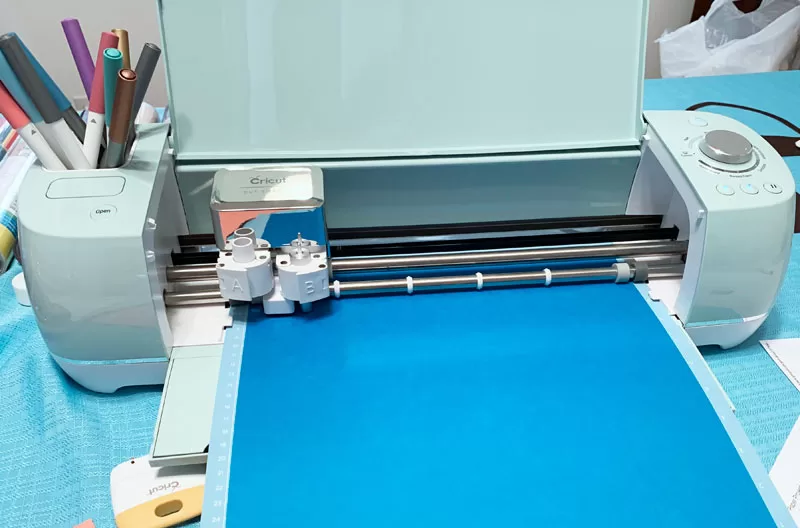
This project had, I believe, 36 cuts, so our Cricut was working overtime. My only annoyance with this particular project was that each cutting frame did not tell you what color of cardstock to use. With the cardstock being so similar in color I was not able to tell which colors went with what cut so I kind of made it up as I went. It would also have been nice to know what size of cardstock was needed. Some cuts took up less than an inch of paper yet I purchased a 12 x 12 cardstock when I could have purchased a smaller piece.
With all the pieces cut the next step was the assembly. I found it easiest to layer the pieces before assembling them to make sure I had them layered correctly. For this step, the photo of the project was a huge help.
The key to making this project stand out is the foam sticky dots. You can not have enough of them! Seriously I think I used like 75 dots. The puffer your dots, the more 3-D you will get in your project. I highly suggest that you space the dots throughout the entire project and be consistent. Use the same spacing on each layer to really push forward each layer to create an amazing 3-D nativity scene.
Leave a Reply